I was trying to do something different for a still life project I was doing and decided to photograph some oil droplets. You get very resourceful with still life photography and just have to look around the house for props, lighting and let your imagination run free.
The set up I used was very simple……..
- Put some water into a glass bowl then add some oil (olive oil/vegetable oil) into the water
- Add a few drops of washing up liquid to separate the oil droplets.
- I used a small home studio kit set up on a table in front of a north facing window. If you don’t have a studio kit then just use white/black card (depending on the set up you want).
- Lift the bowl up a bit (say 10 inches) and set it up onto something so that the bowl is risen up from the surface beneath.
- Place coloured paper/card/wrapping paper etc on the base below the bowl so this will act as the background but you won’t want this in focus in your shot.
- Lighting the scene – I used some LED bicycle lights to light the oil from beneath.
- Set your camera up on tripod and point the camera downwards so that it is pointing directly down towards the oil.
- Use manual control and manually focus on the area you want as the focal point.
- Make sure not to use a small aperture of say F22 as you don’t want the background paper in focus, it’s just there to add a background colour.
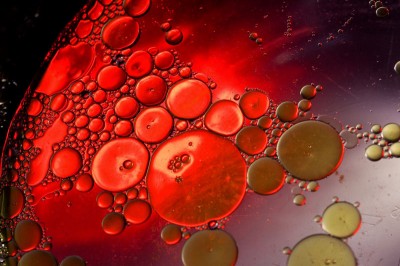 Photoshop changes – This is the original image which I shot in RAW. I used Auto White Balance but later changed it to tungsten in Photoshop as I preferred the blue colouration in the image. I just tidied the image up with some erasing and cloning to remove dust spots and the Pyrex lettering at the end of the bowl. I adjusted the sharpness (unsharp mask) and that’s it.
Check out Google images and Youtube for more tips and help as there is loads of information there and above all HAVE FUN!!!
Technical Details:
Canon 50D camera
Canon 60mm macro lens
F6.3, 1/13 seconds, ISO 250.

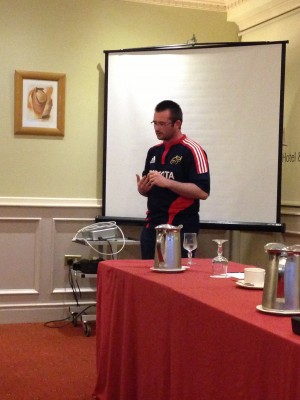 On Tuesday 7th May 2013, Ballincollig Camera Club came to The Midleton Park Hotel on the first in our calendar of club exchange nights for 2013. A strong contingent arrived lead by newly elected secretary, Graham Daly who was accompanied by Pierce Coady, Cian O’Mahony, Denis O’Driscoll, Ron Giesbers, Ilinka Drieu and Margaret Beaty.
 Next up was Cian O’Mahony to show his successful L panel. Cian explained the concept of his panel and how he favoured the coast and landscapes of West Cork and Kerry to create his images, and how he was influenced by the style of John Hooton.