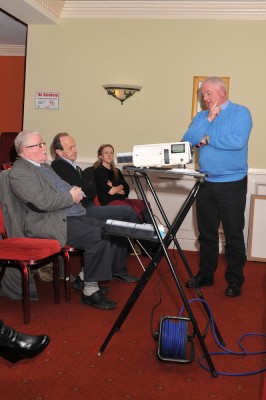
I thought I was reliving my childhood when I walked into the group's meeting at The Midleton Park Hotel on Tuesday 12/3/13. Taking pride of place in the center of the room was a slide projector set up on a projector stand and aimed at a portable projection screen at the top of the room. Several full slide magazines were arranged underneath the projector and a power cable snaked along the floor. Yes, I could have been 5 years old again as this was a common scene at home, once or twice a year back in the 60's, when we would all gather for a slide show and giggle at the sight of our own faces and those of family and friends projected large in front of us. Even then, we were aware of the magic of these shows. The clarity and sheer size of the images as well as the cinematic feel of the darkened room, even if it was our kitchen, lent an air of a special occasion to those times.
It would have been a familiar scene to the owner of all this equipment too. Mick Fenton, a founding member of ECCG, grew up in the same era as me and was treated to similar slide shows by a neighbour which instilled in Mick a lifelong passion for photography which he still enjoys over forty years later.
When ECCG was founded in 2000, there was one member with a digital camera. Today, Mick Fenton is the only member still shooting film, not because he refuses to 'progress' but rather because his love of film and the images it produces is stronger than all the hype and advertising that has converted the rest of us. It was with a sense of great expectation then that we looked forward to this talk and slideshow by a man whose photographic integrity is intact. To add to the air of a special occasion, two more of the four co-founders of the group, John Joe Joyce and the current chairman, Tom Tattan, were also in attendance. Unfortunately the remaining co-founder, Pat Walsh, was unable to attend.
Tom Tattan got proceedings underway. He spoke about the early days of the group when the magic of the darkroom was what it was all about and the efforts that were made by the founding members to get the group off the ground. He expressed his delight at having a 'photographic purist' like Mick to share his knowledge with the group and gave him the floor.
Mick spoke briefly of the testing time it was when the group was being set up. A group was originally suggested over dinner, after a shoot, in Kenmare on a bank holiday Monday and those present agreed that they'd give it a go. They contacted Mary Tobin and Liam Supple who were then secretary and chairman, respectively, of the Dungarvan camera club who gave them direction and invited the Midleton contingent to their annual exhibition a few weeks later. Following the exhibition, an extended meeting of the founding members was held in a nearby restaurant where they proceeded to clean the place out of tea and scones over several hours as they debated and decided on the path which they would follow in setting up the group. From those humble beginnings the group went on and is still around and vibrant today.
Mick attributed its success to the commitment of the officers and members of the group over the years. "It was an honour and privilege for me to have been chairman of the group for several years. The group is only as strong, not as the officers are, but as the members are - if the commitment comes from the floor, the officers are under pressure to organise, research and step up to fulfill the requirements of the group", he said. The group made good contacts in neighbouring clubs around the country which was a fantastic help. He also paid tribute to the many professional photographers who were prepared to share their knowledge with them over the years.
Explaining his own love of the film medium, Mick acknowledged that digital was a fantastic medium too. He recalled an old photographer who refused to move from slide film to digital who compared both to oven cooked and microwaved meals: "there's nothing wrong with a microwaved dinner", he said, "but you can't beat sitting down to an oven cooked one!". Mick acknowledged that photography is a personal thing - what one person likes, another might not and that's fine.
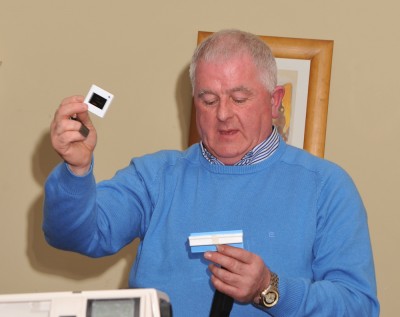
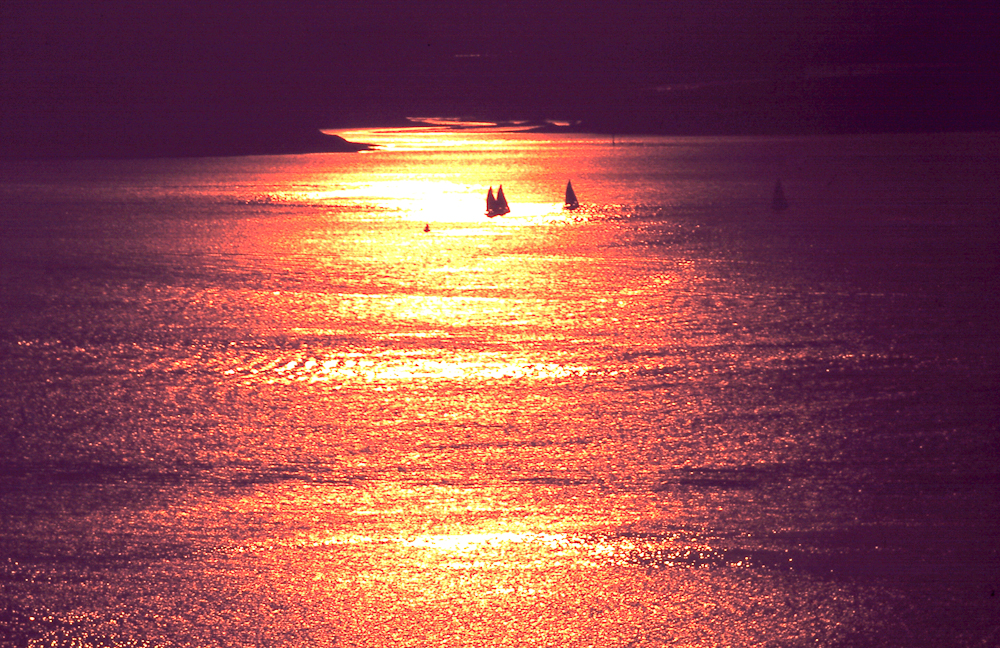
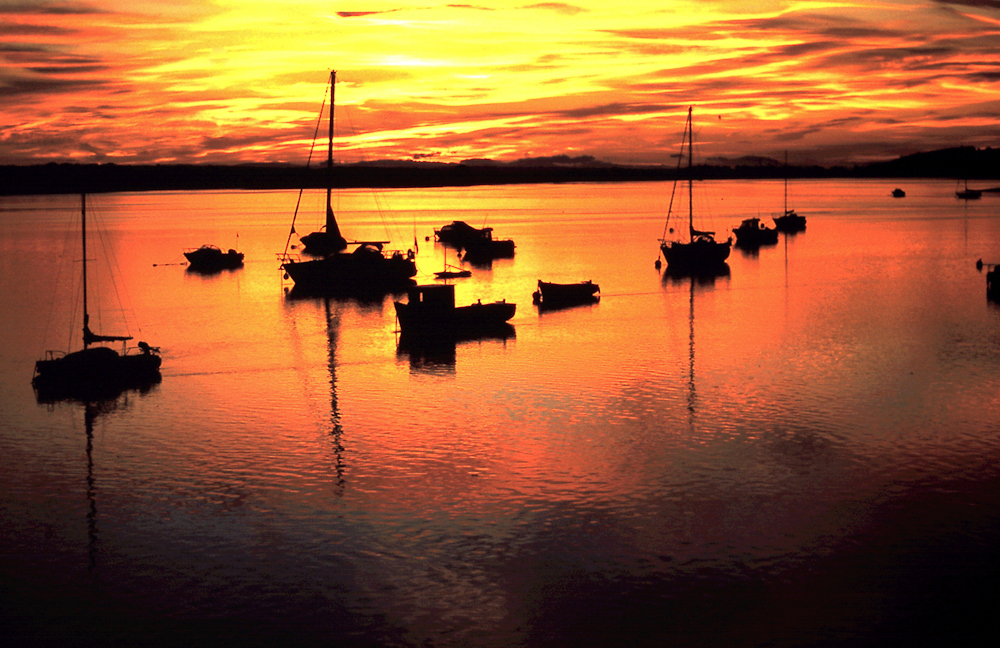
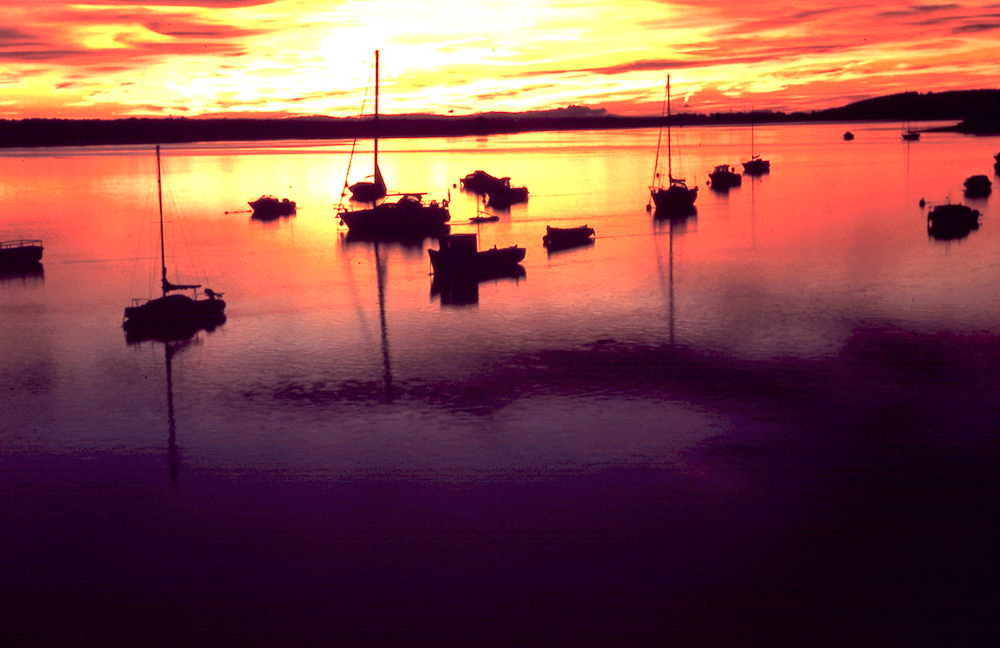
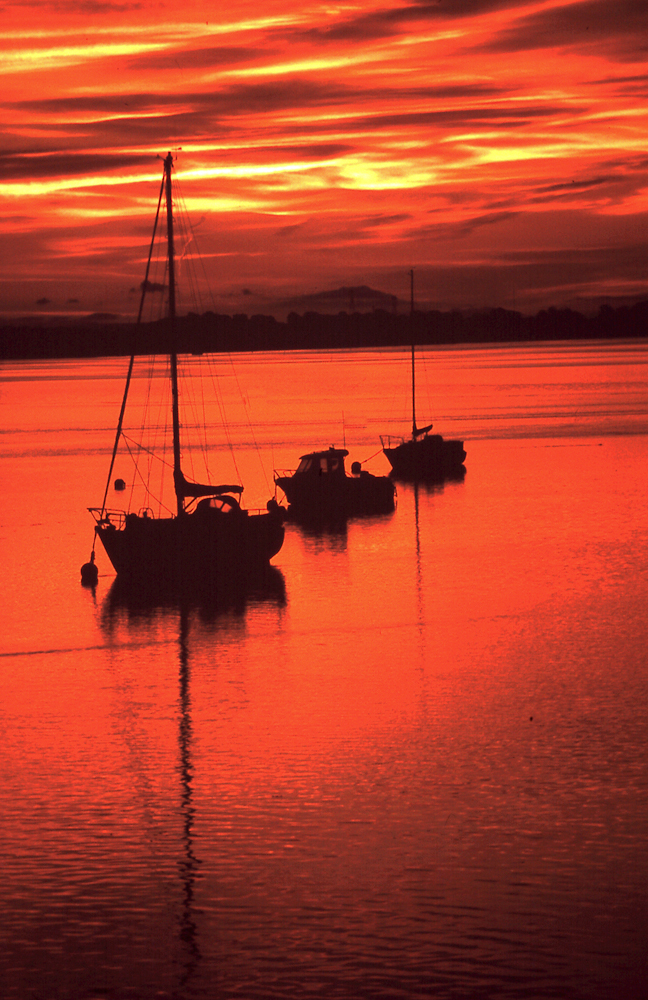
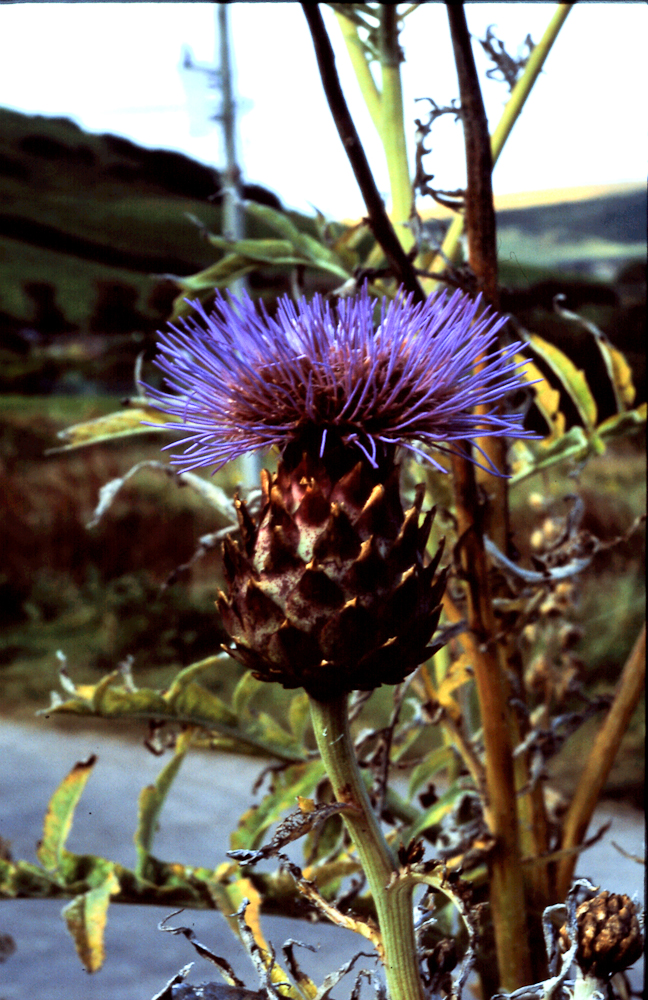
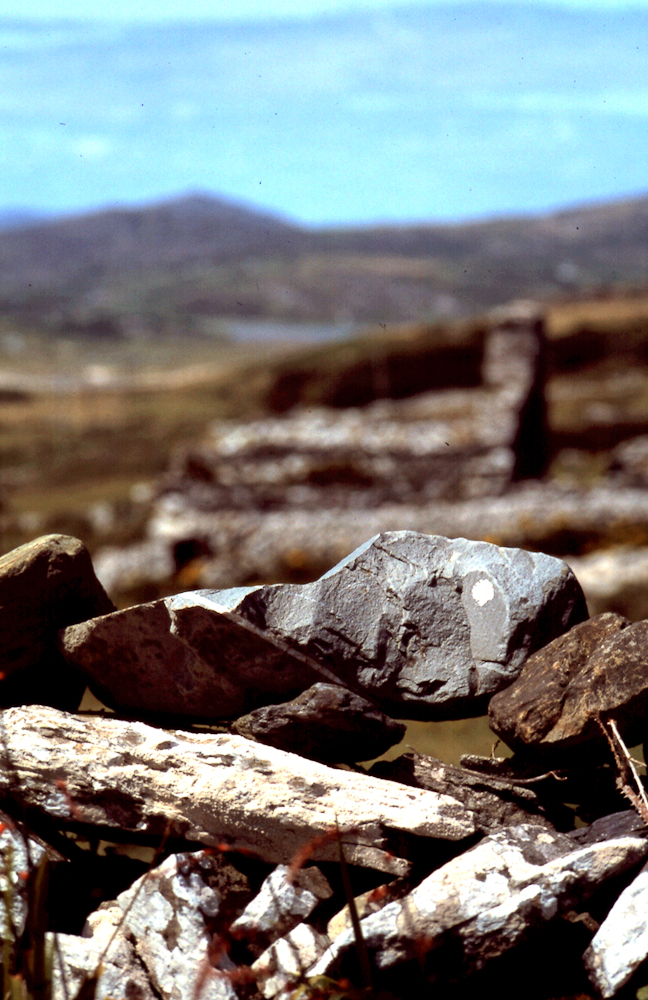
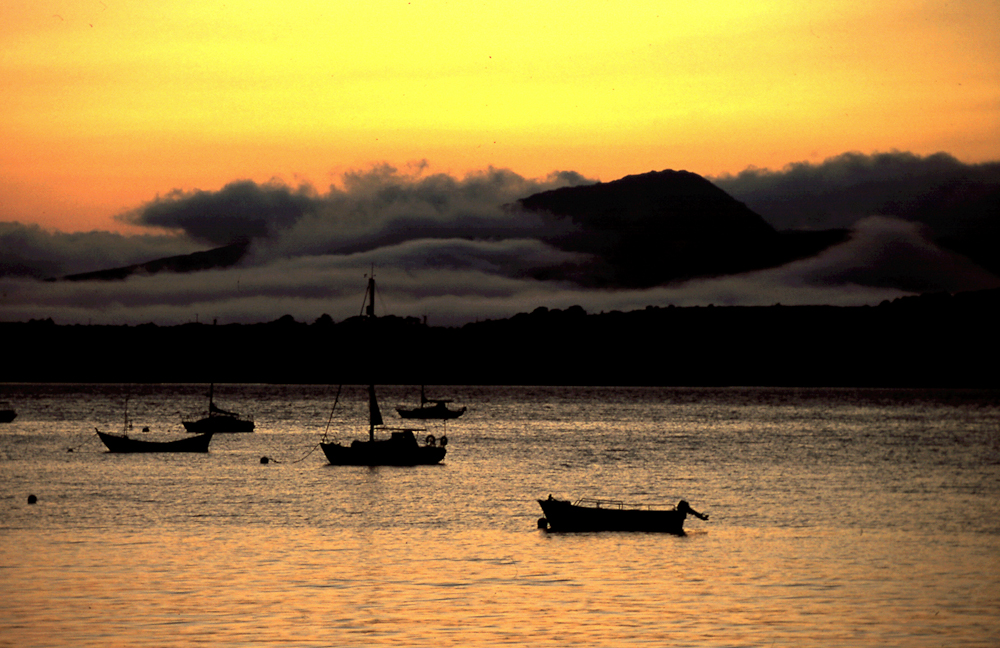
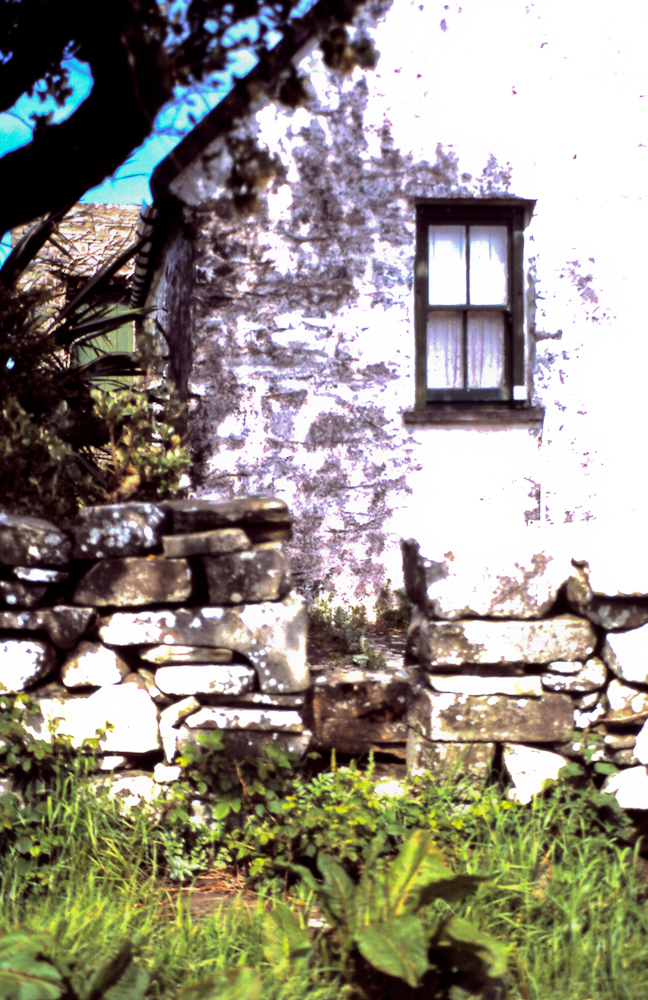
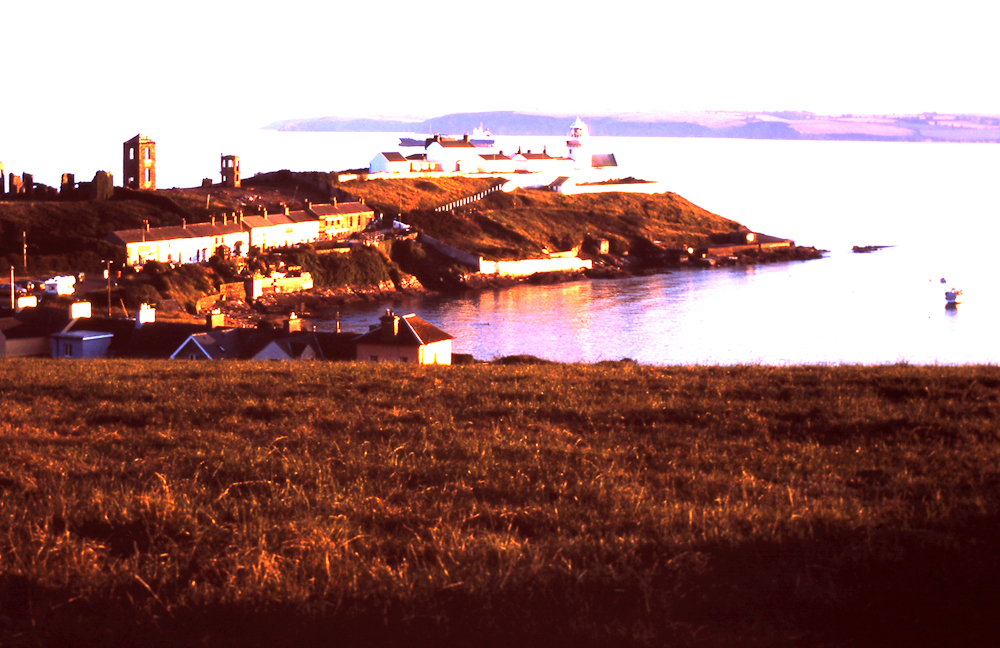
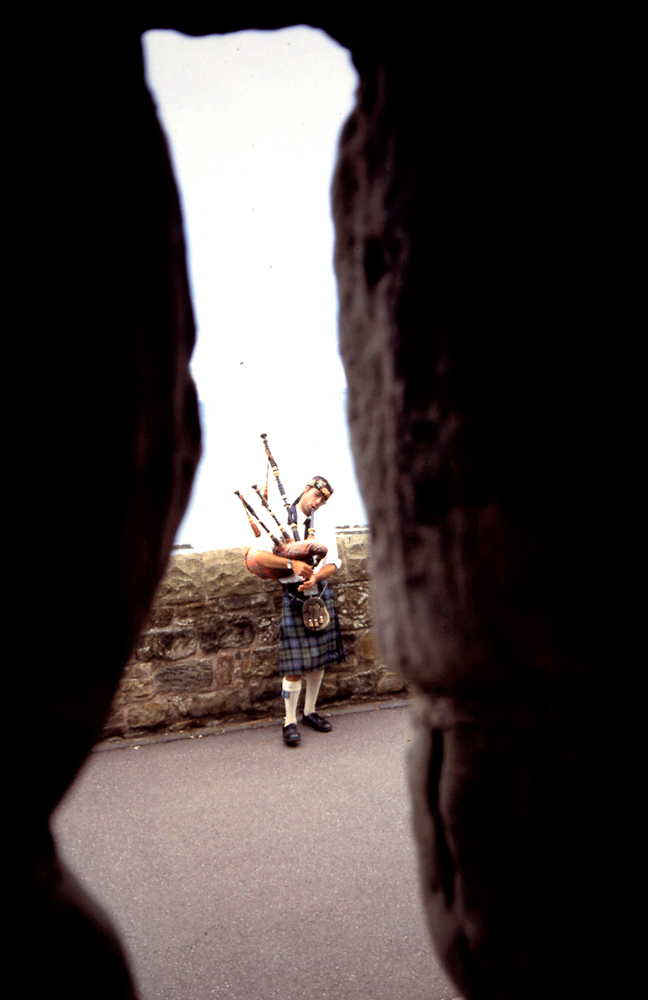
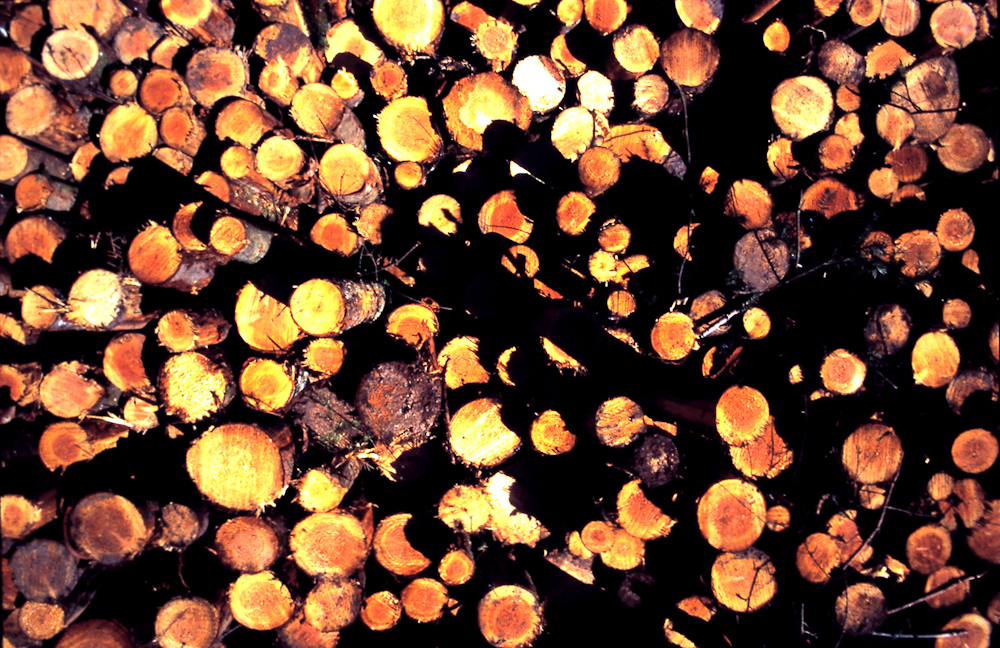
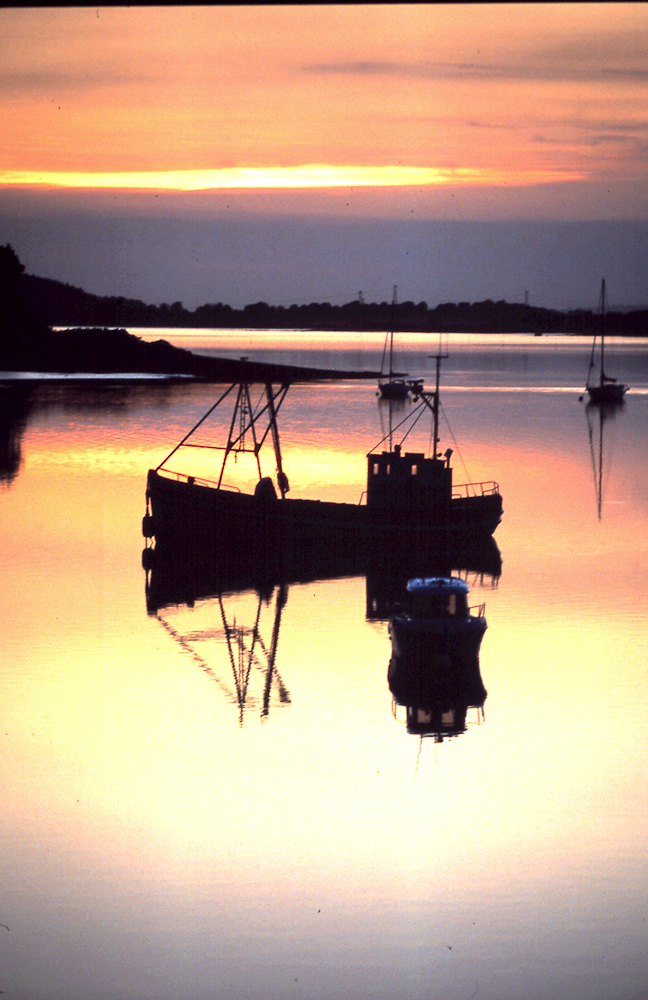
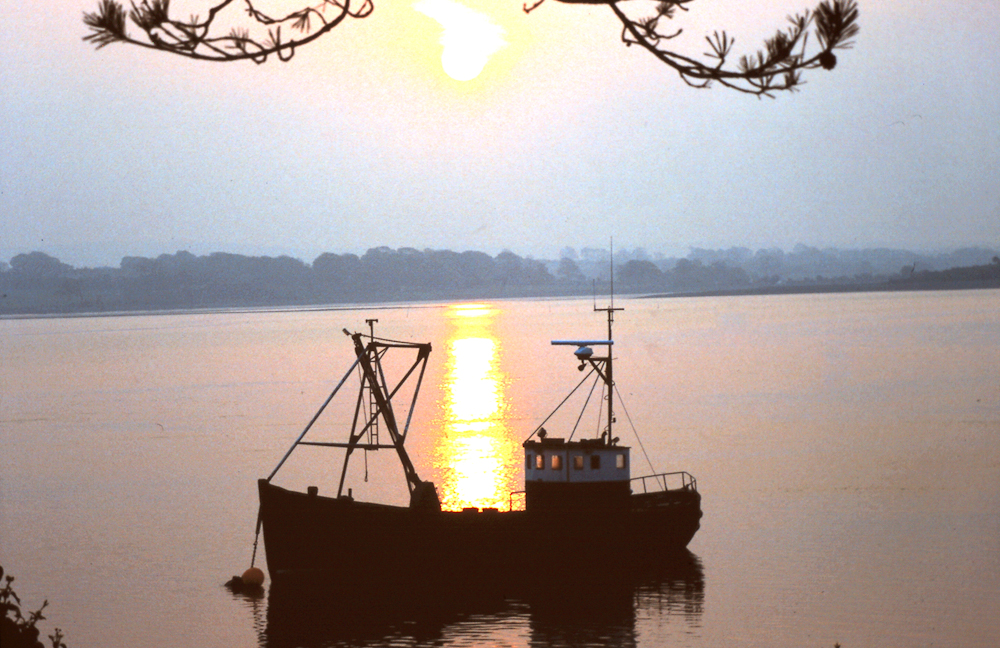
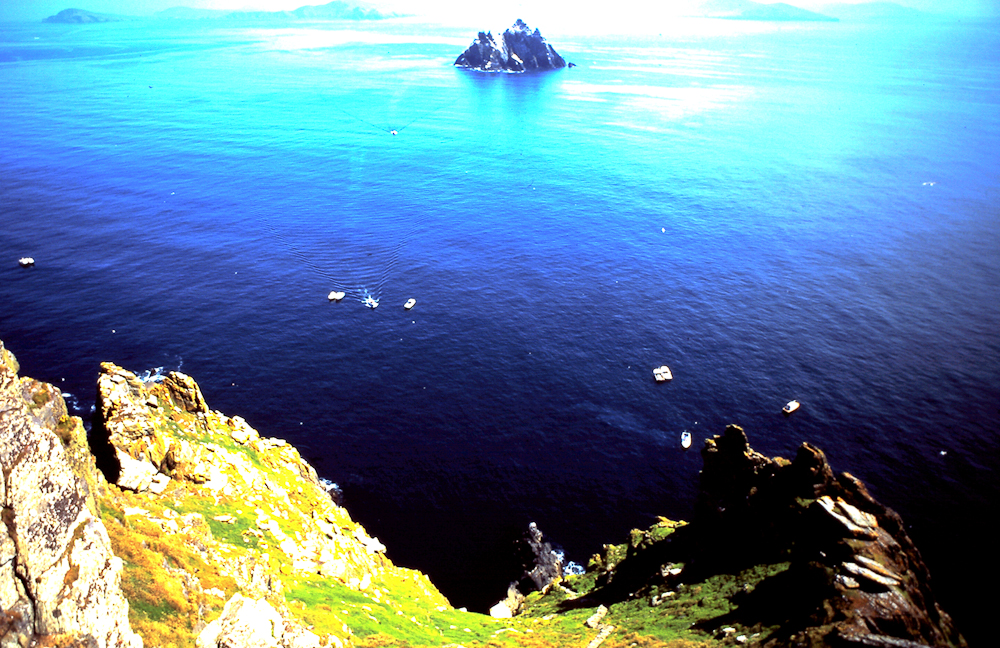
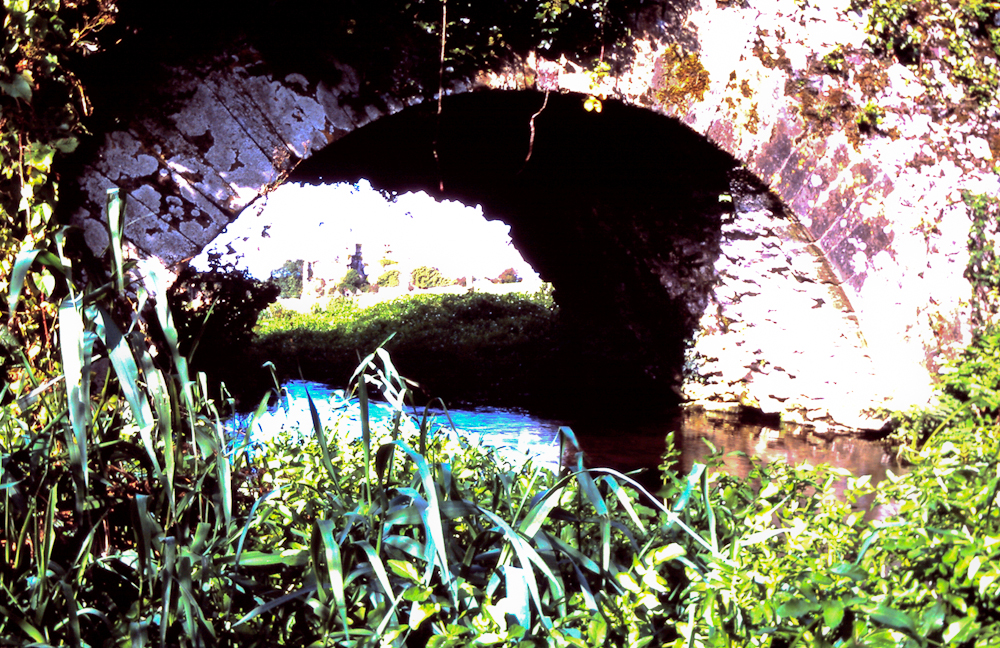
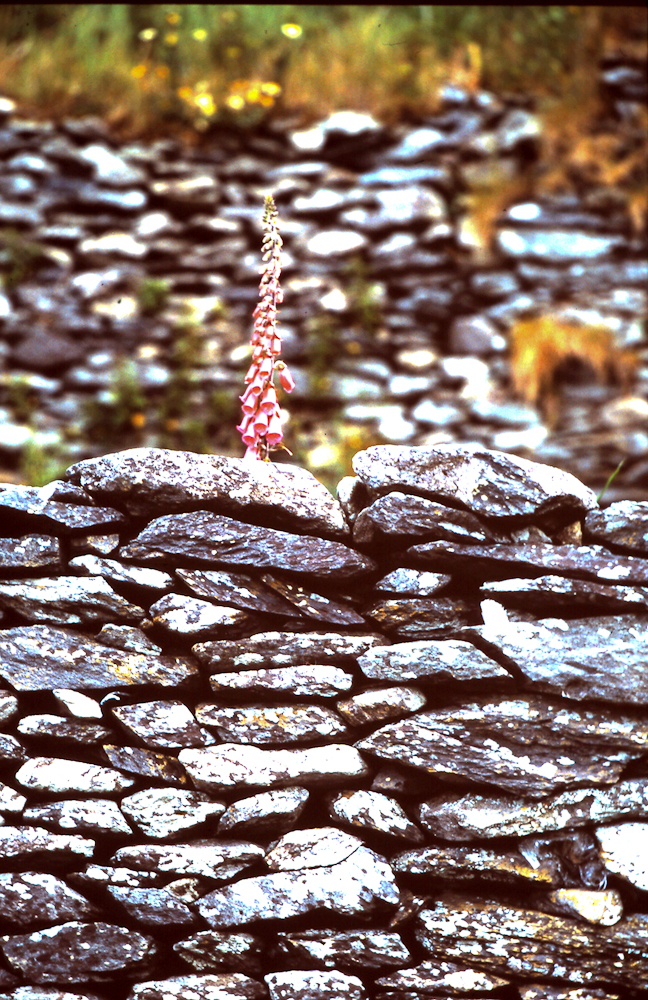
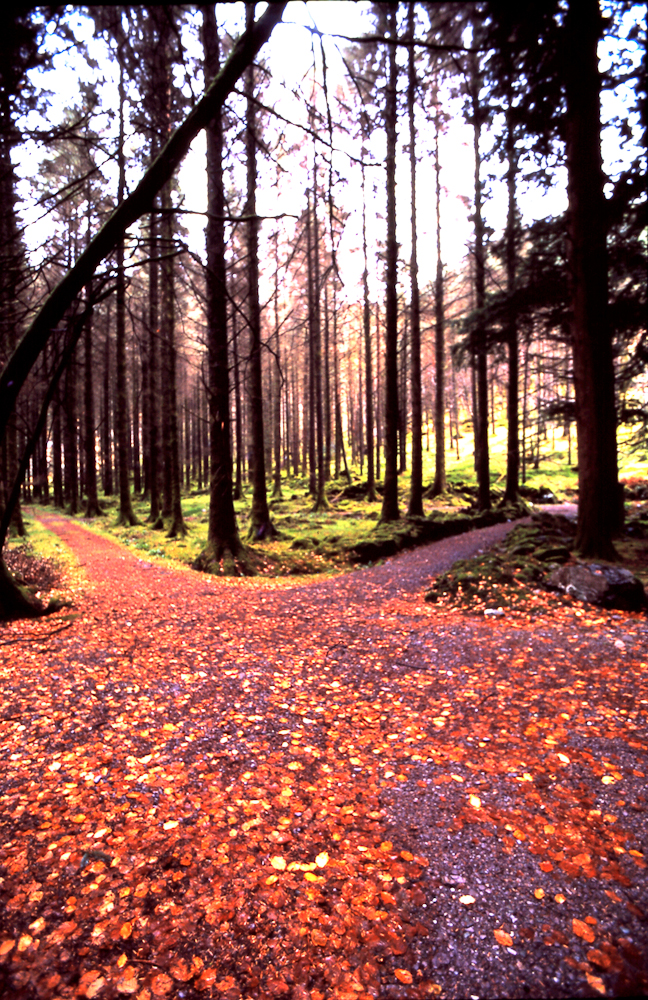
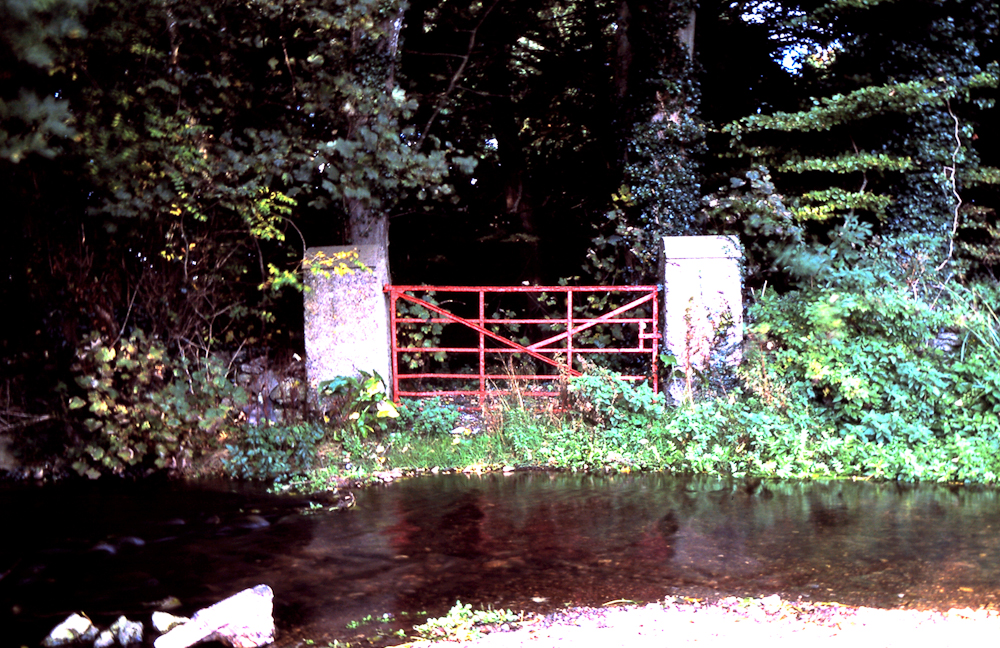
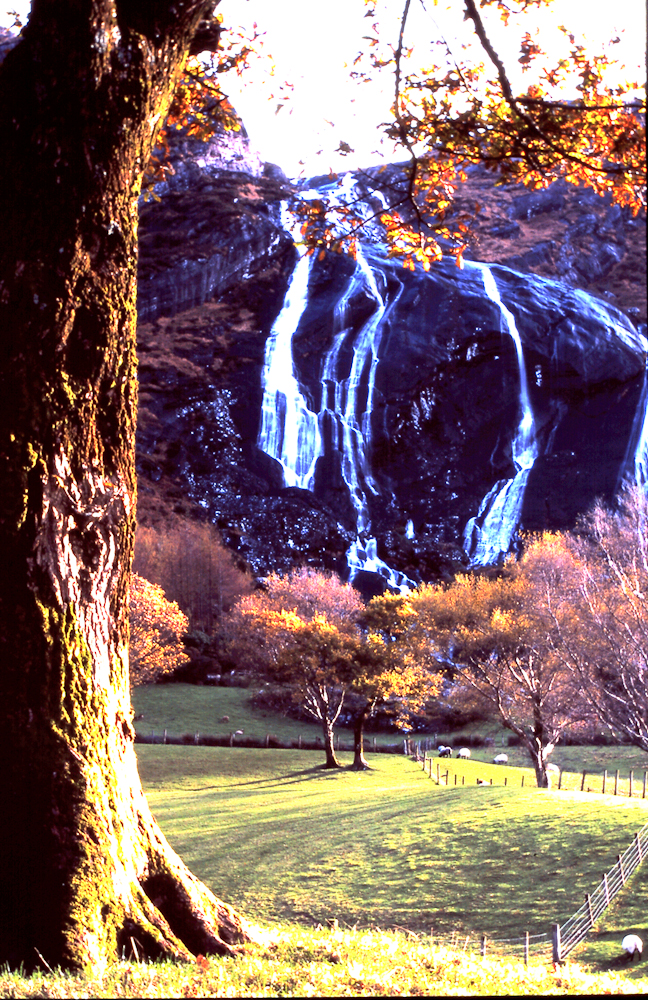
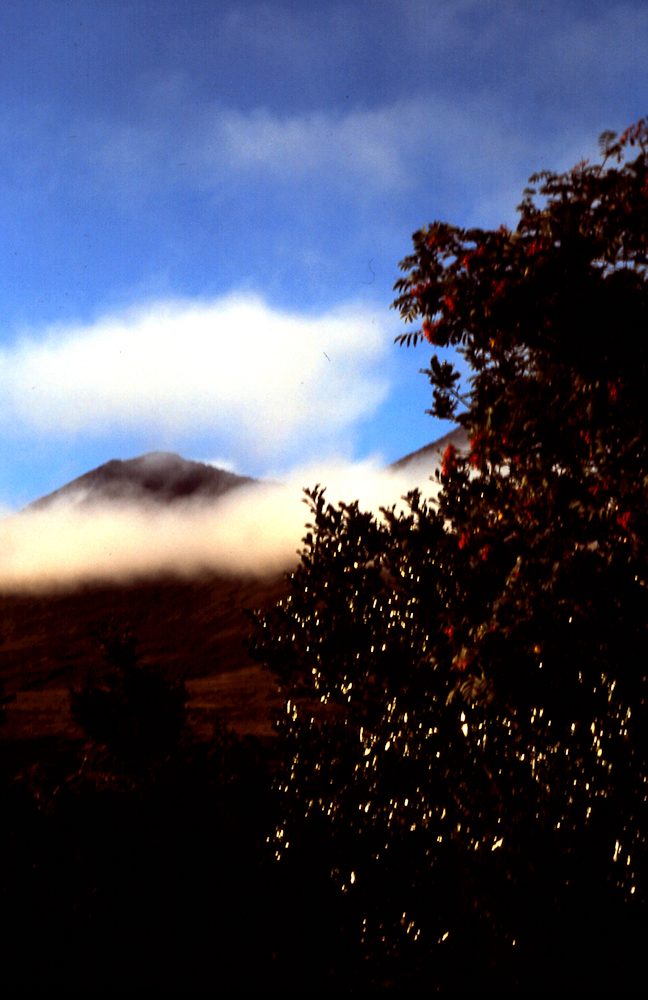
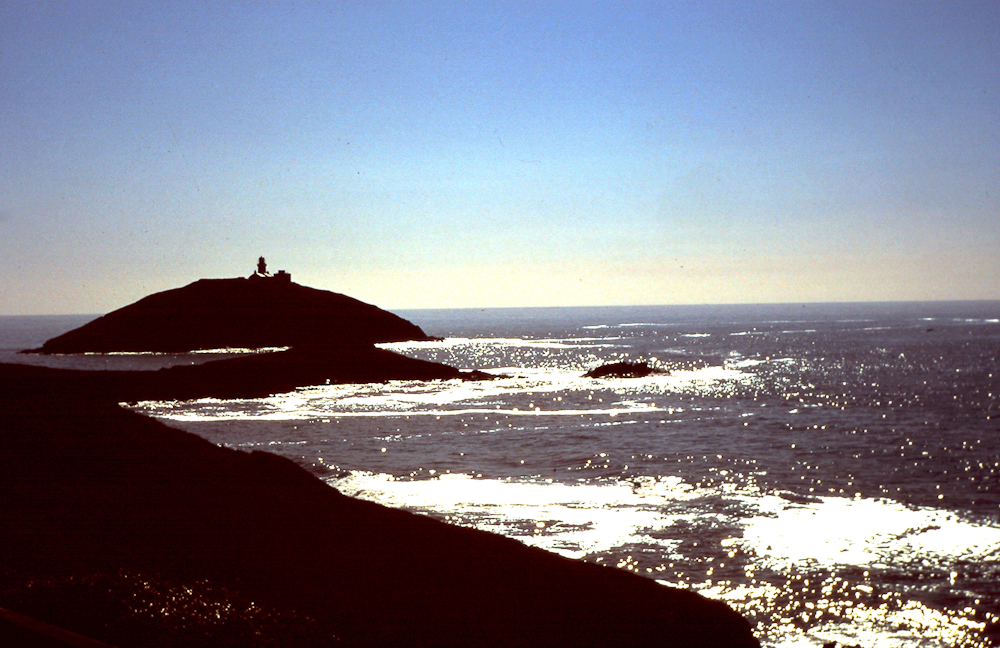
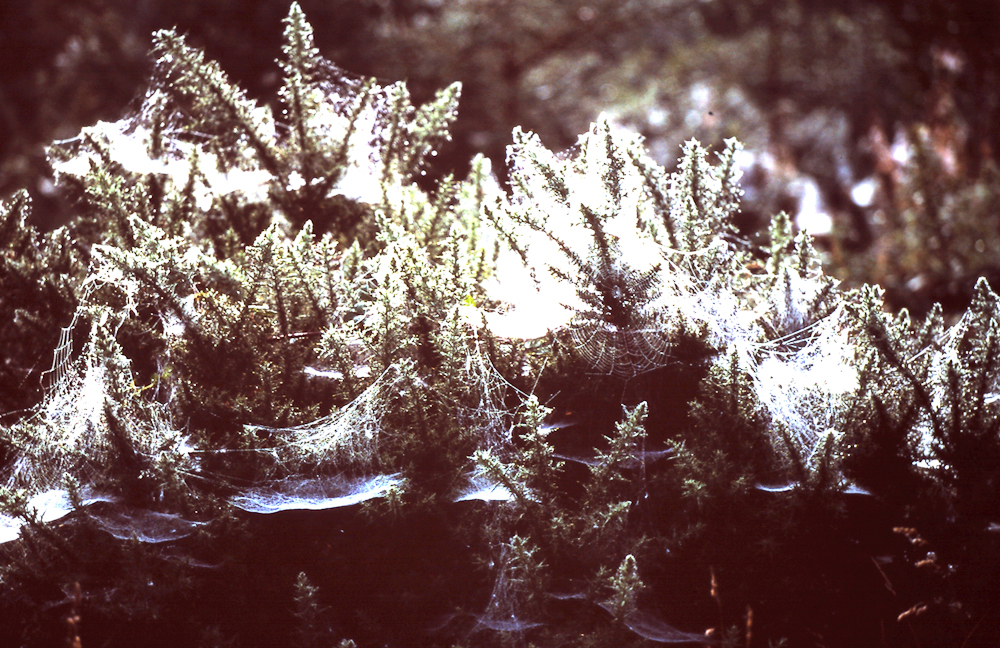
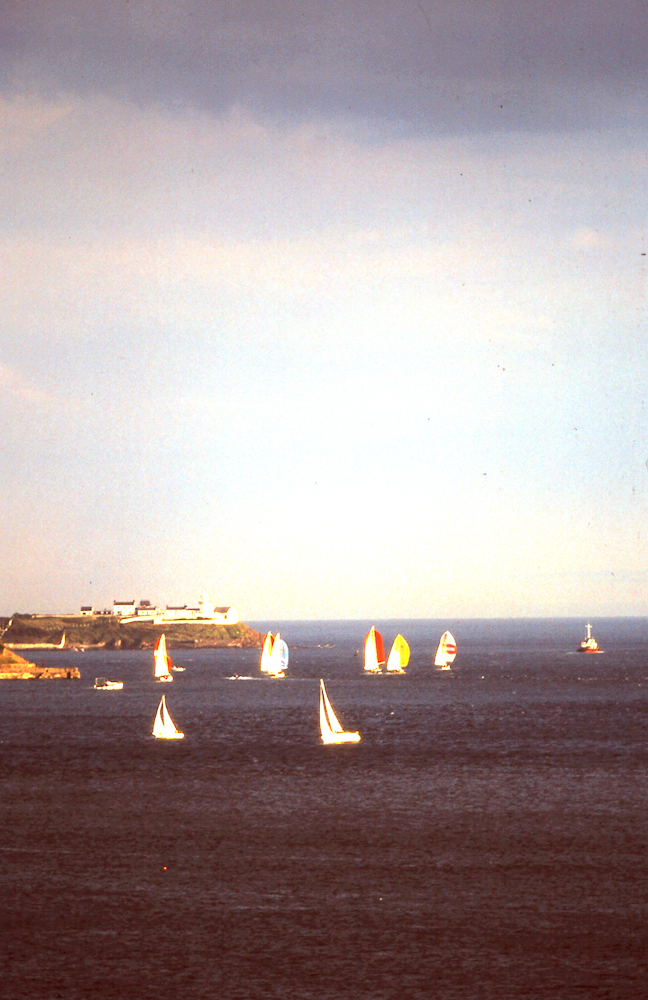
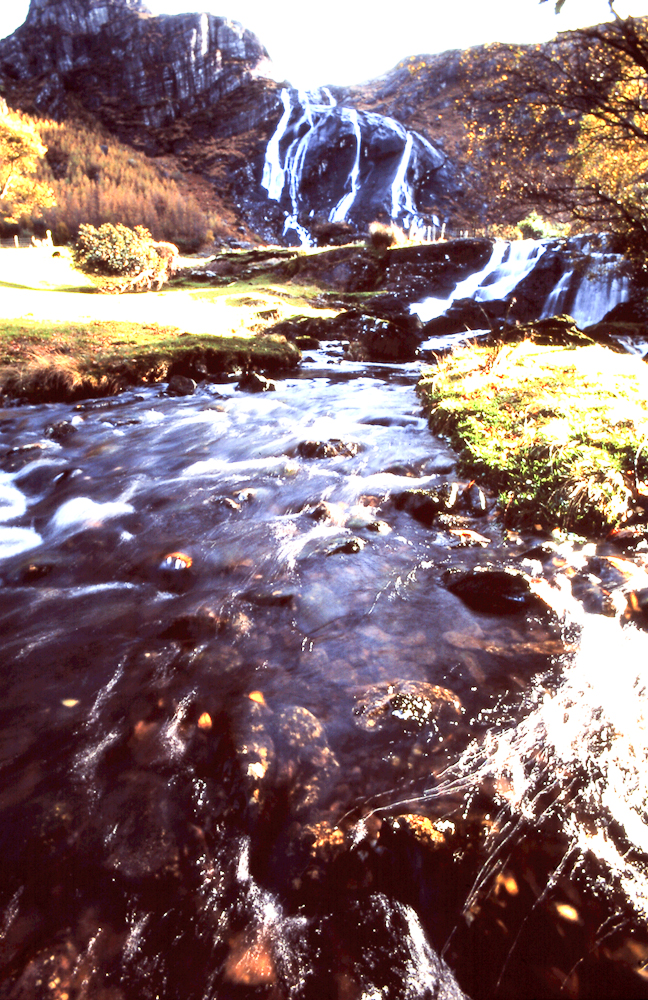
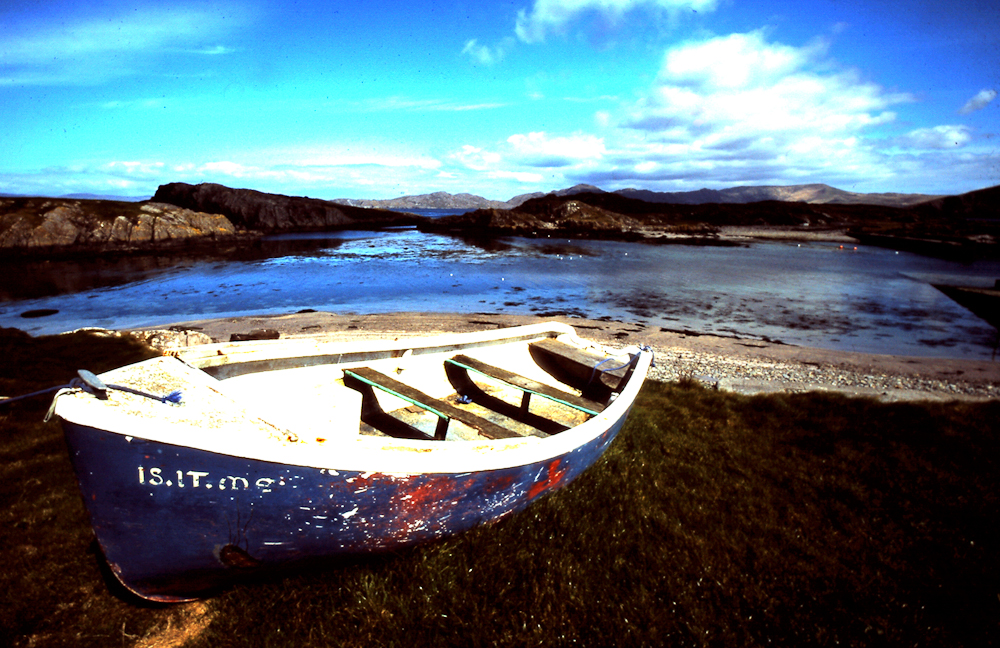
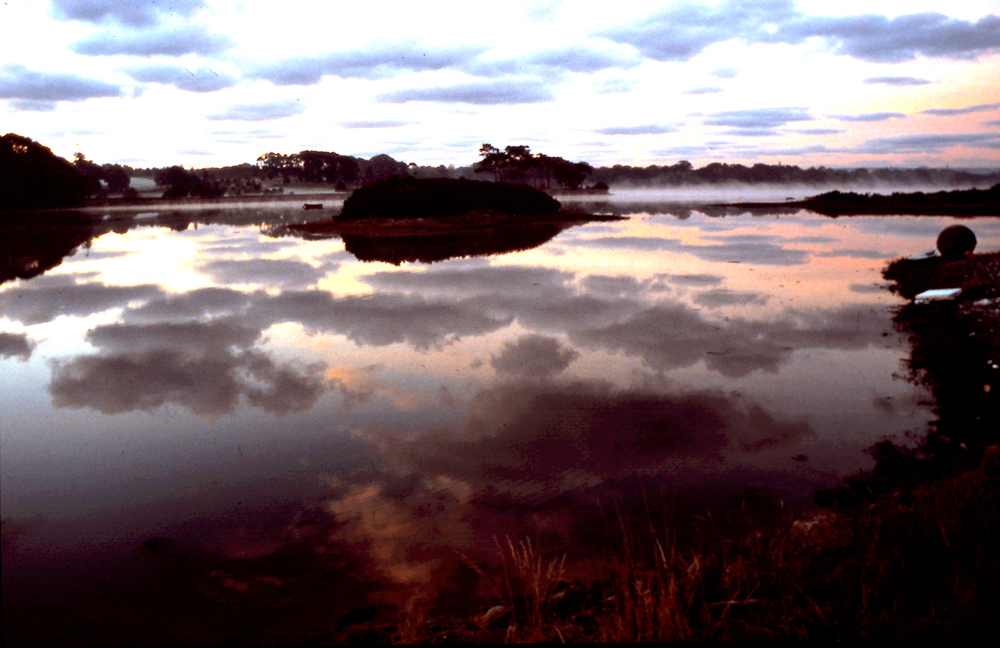
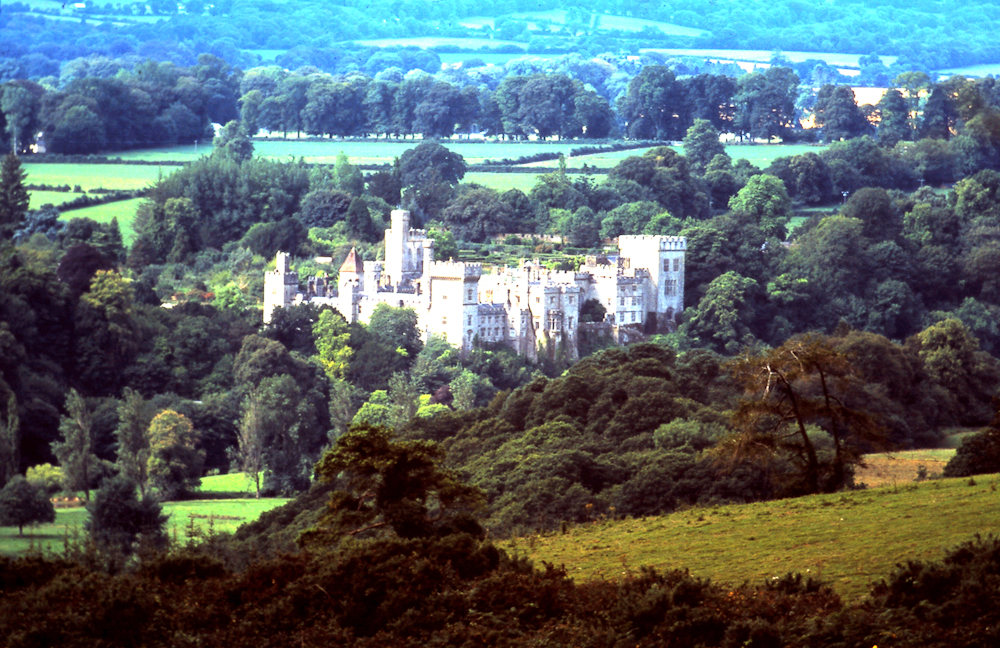
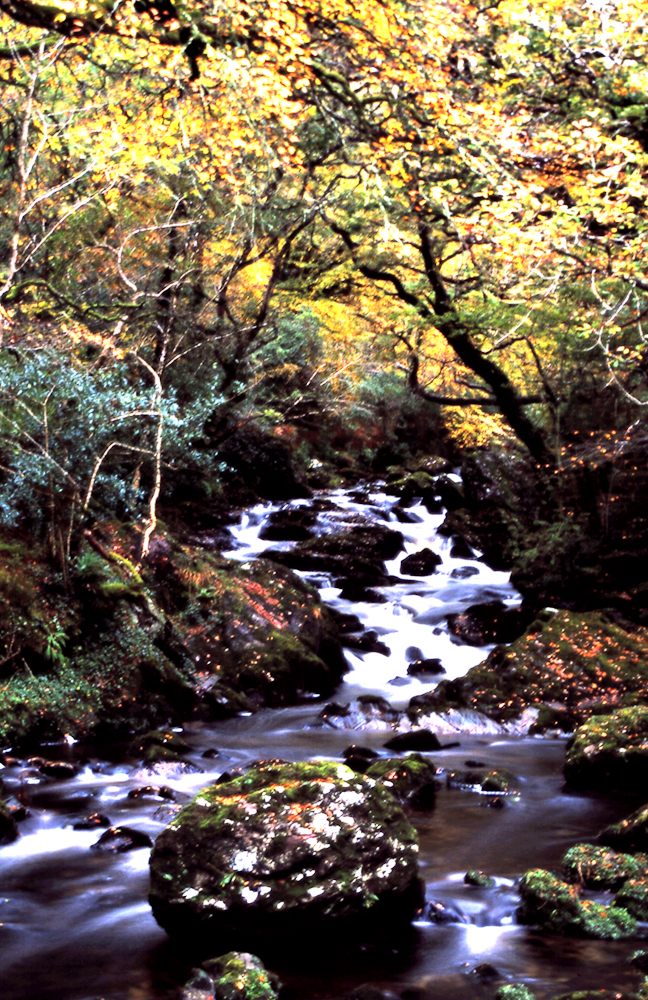
Leading in to his slideshow, Mick looked at his audience, held up a small square of plastic and announced "This is a slide" and proceeded to educate the people before him on the whole process of slide photography, many of whom had never shot slide film or any film for that matter. The slideshow consisted of over 100 images of landscapes, seascapes, portraits and macro all shot on Fuji Velvia slide film using a Canon EOS3 camera (that has no LCD screen at the back!).
The images were, without fail, sharp, well exposed, well composed and had clarity and deep colours rarely seen in other media. For this post, I have scanned some of the images for the digital slideshow below but must say upfront that the scanning process has done no favours to the images. Highlights are blown out, shadows have gone to complete black with some softness introduced where none existed. That said I hope this will give you an idea of the treat we were afforded by Mick who has kindly offered to have some of his images properly scanned for future posts on this site. Mouse over the image below to activate the slideshow controls.

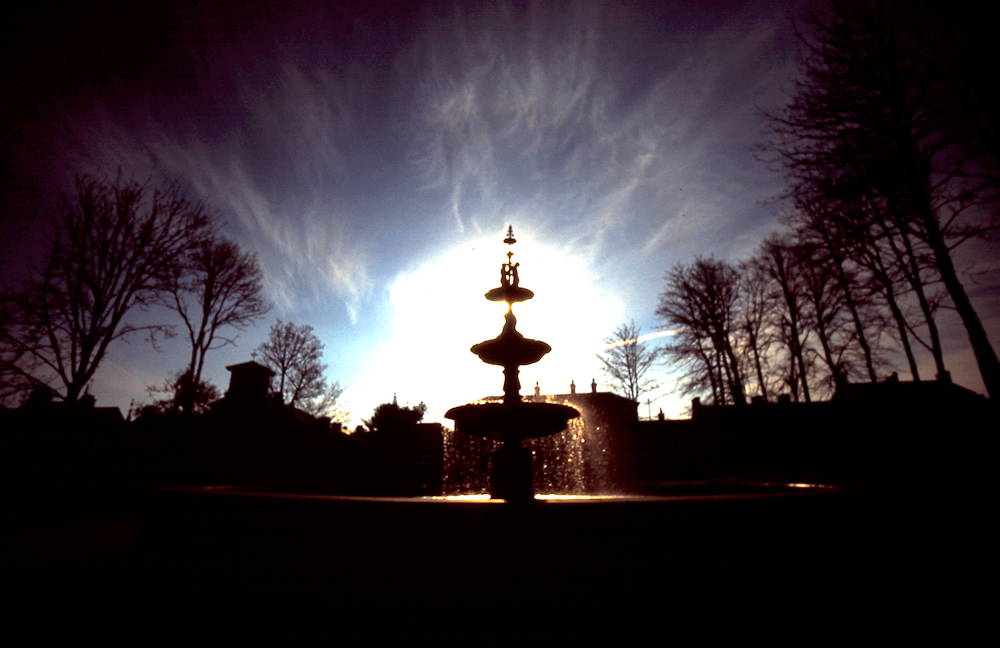
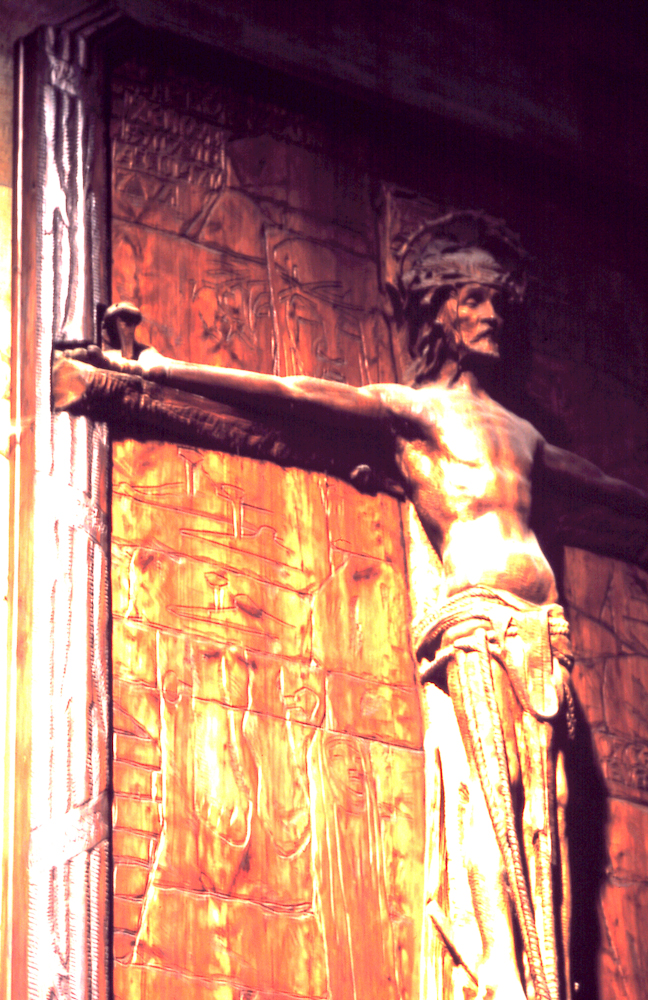
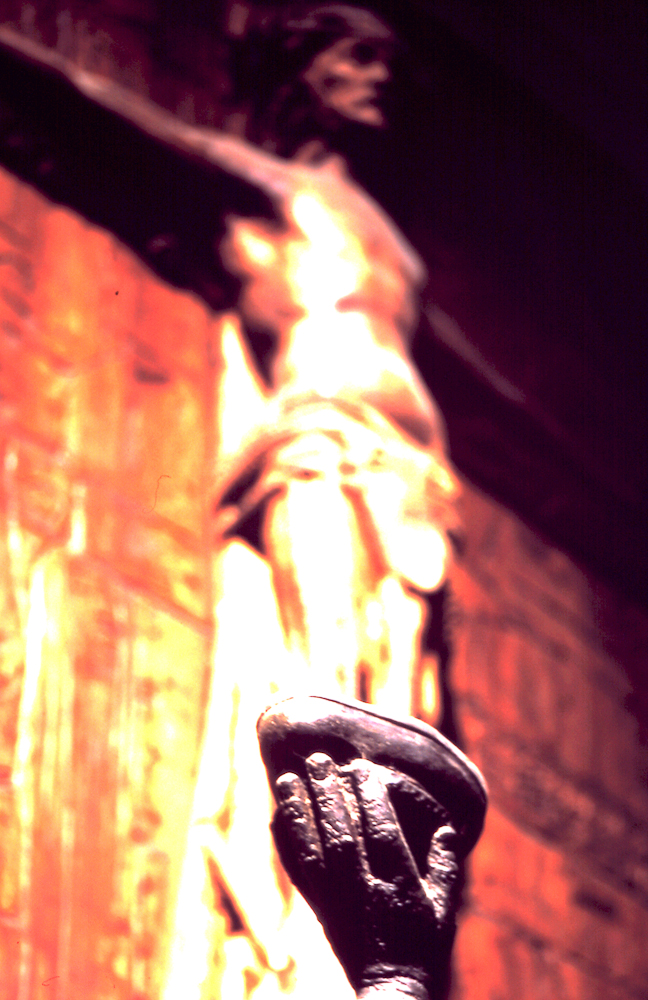
Holy Rosary Church, Midleton
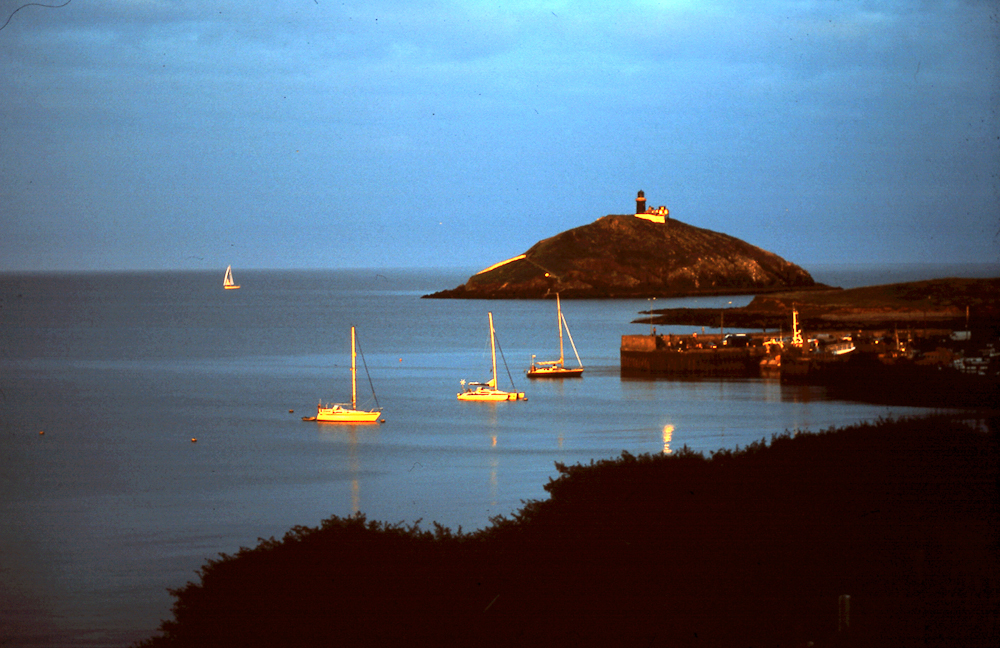
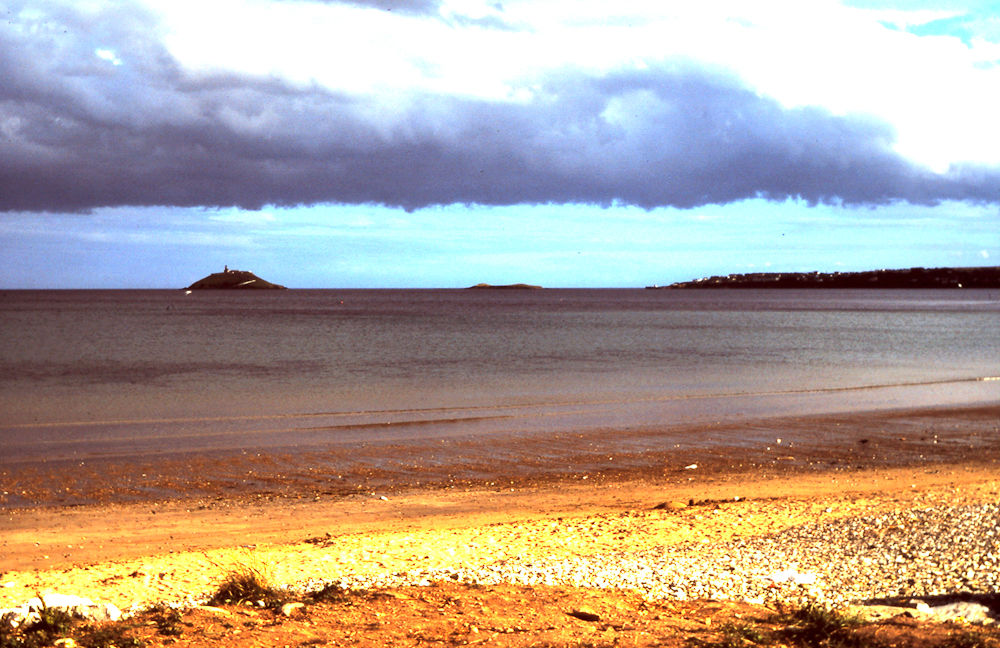
Near Ross Castle, Killarney
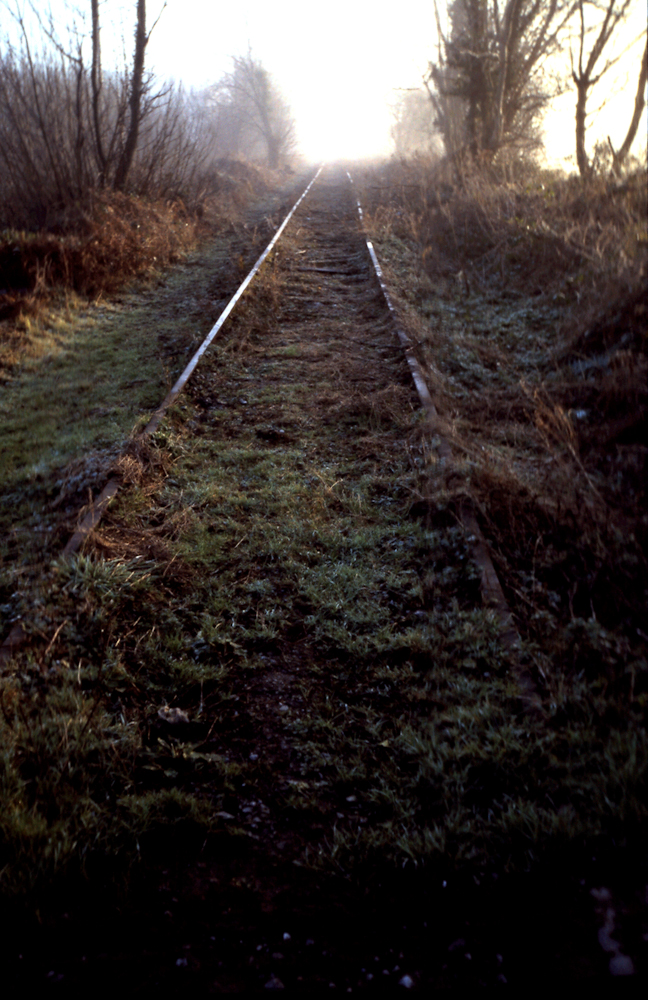
Disused Railway, Midleton
"Please sir, can I have some more?
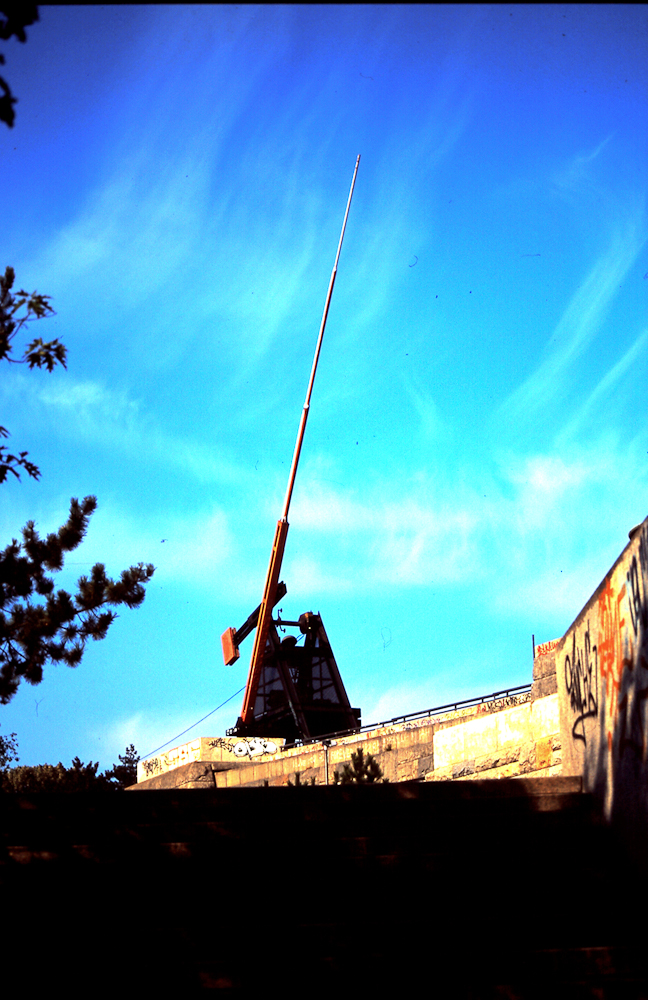
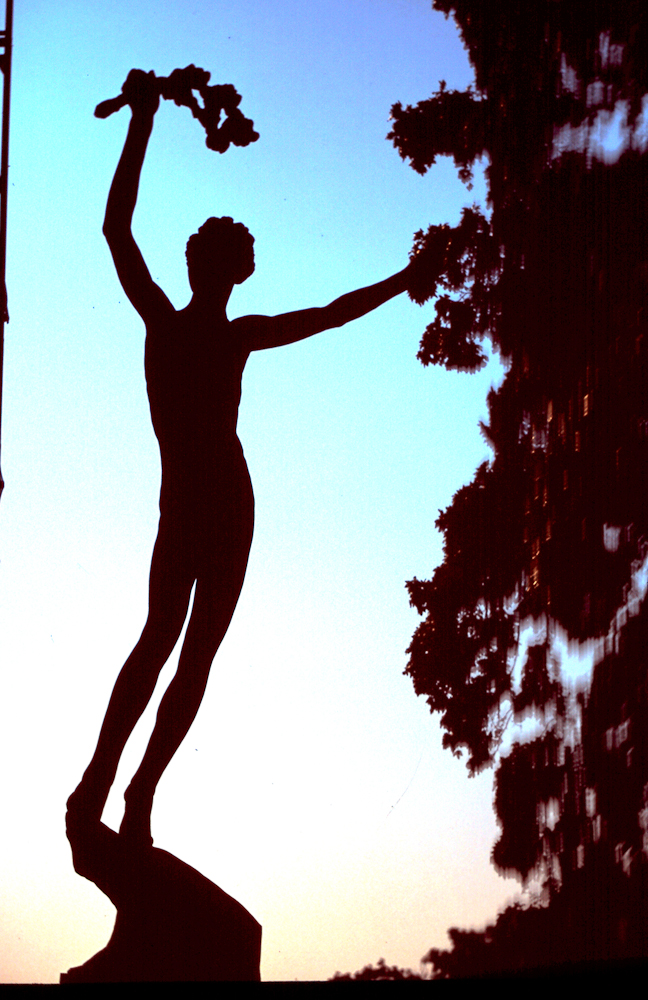
Giant Metronome in Prague
Reflection - Holy Rosary Church, Midleton

Holy Rosary Church, Midleton
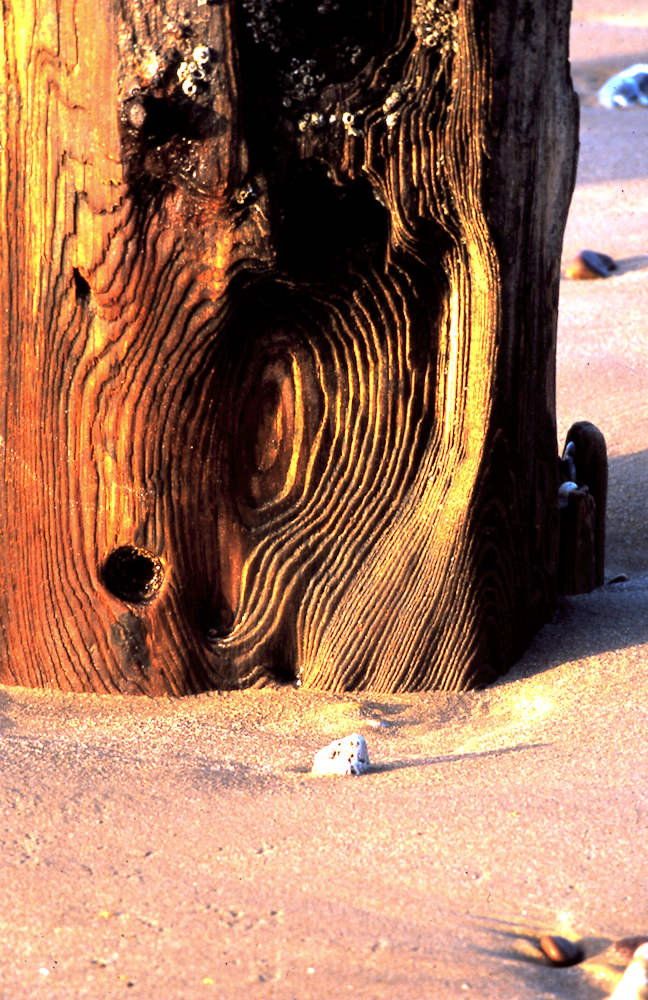
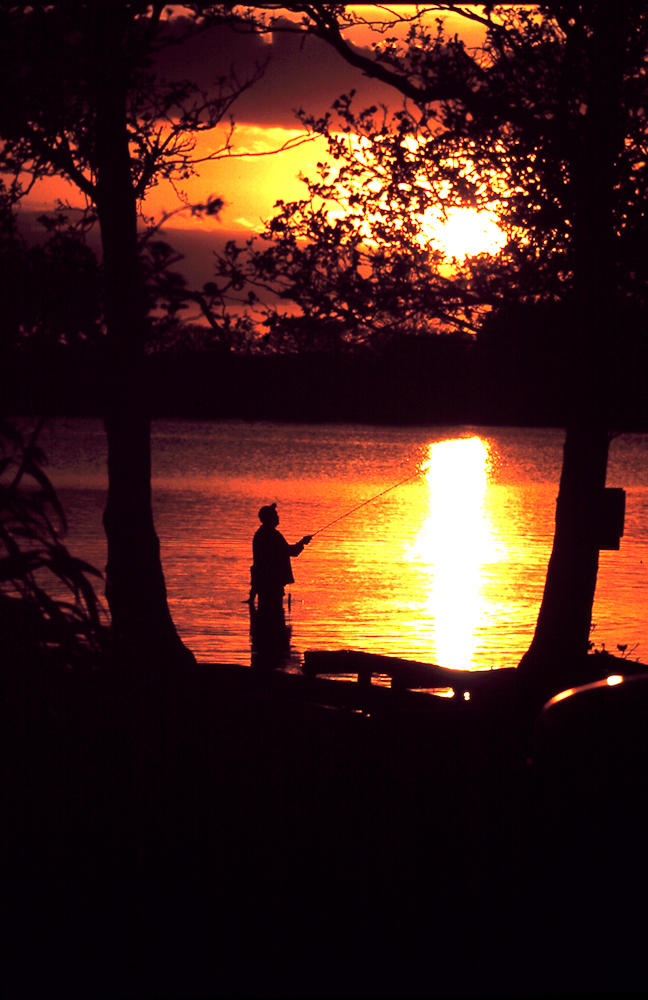
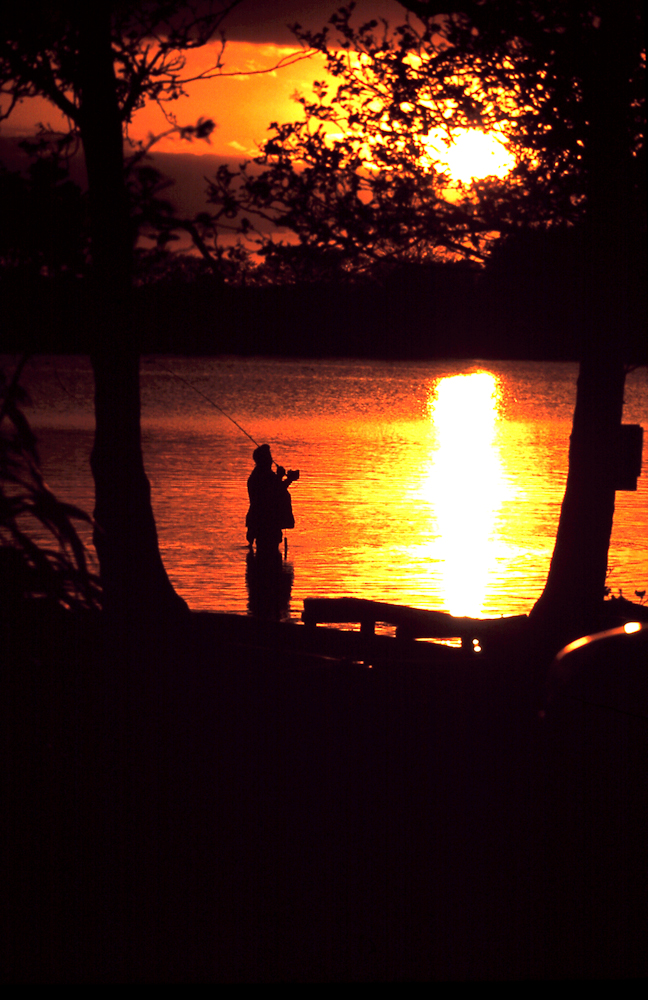
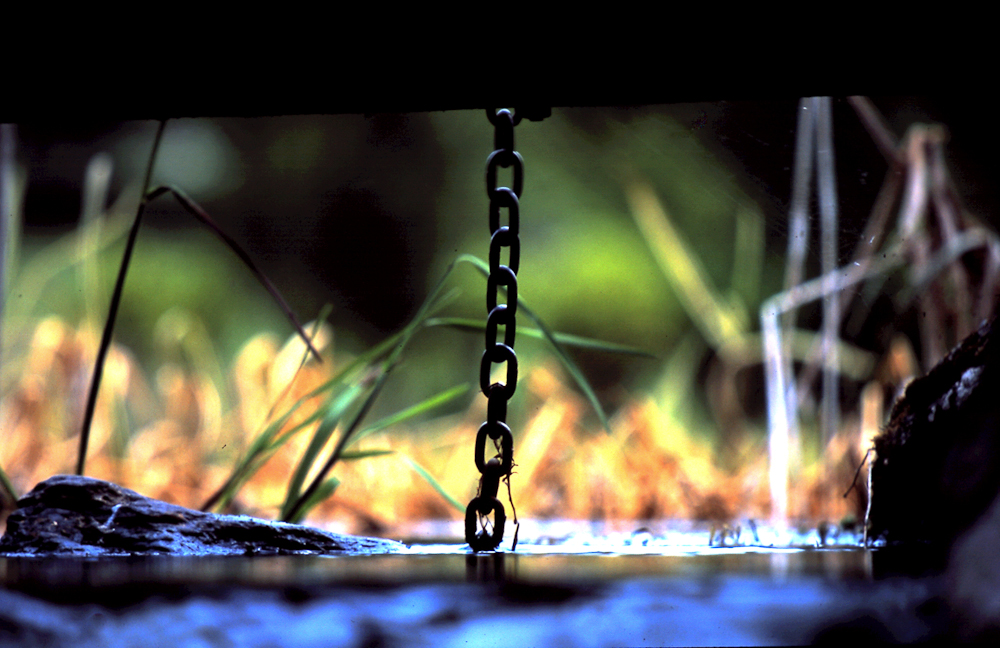
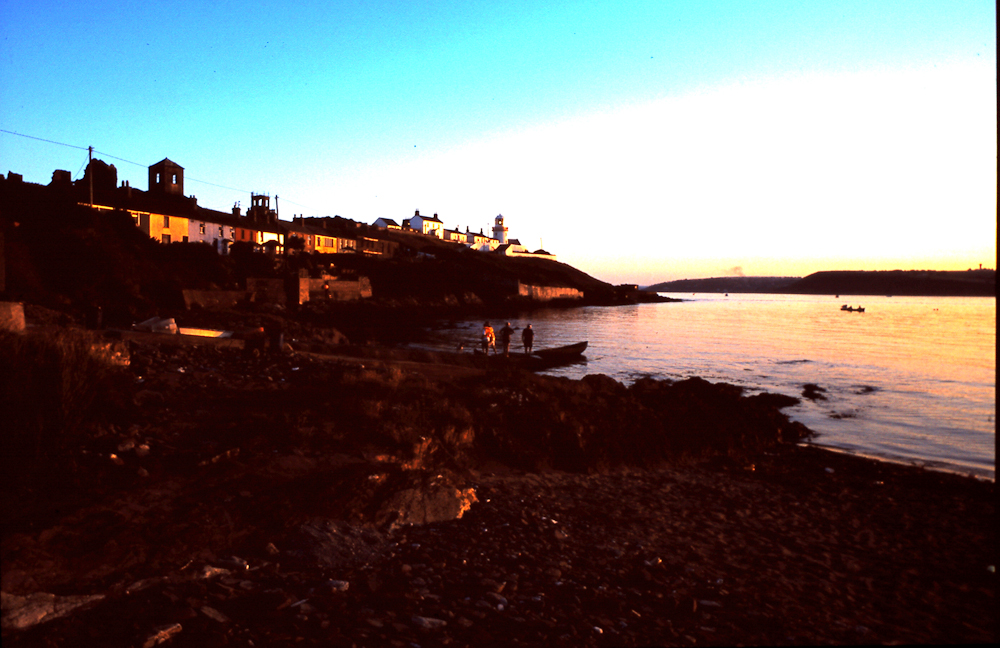
Sleeper at Youghal Strand

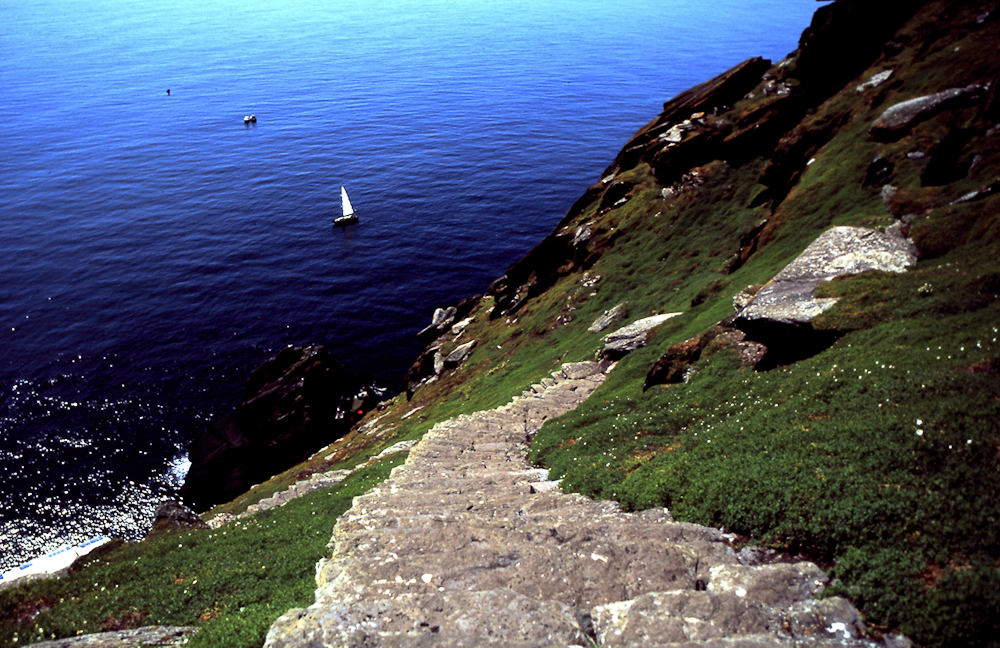
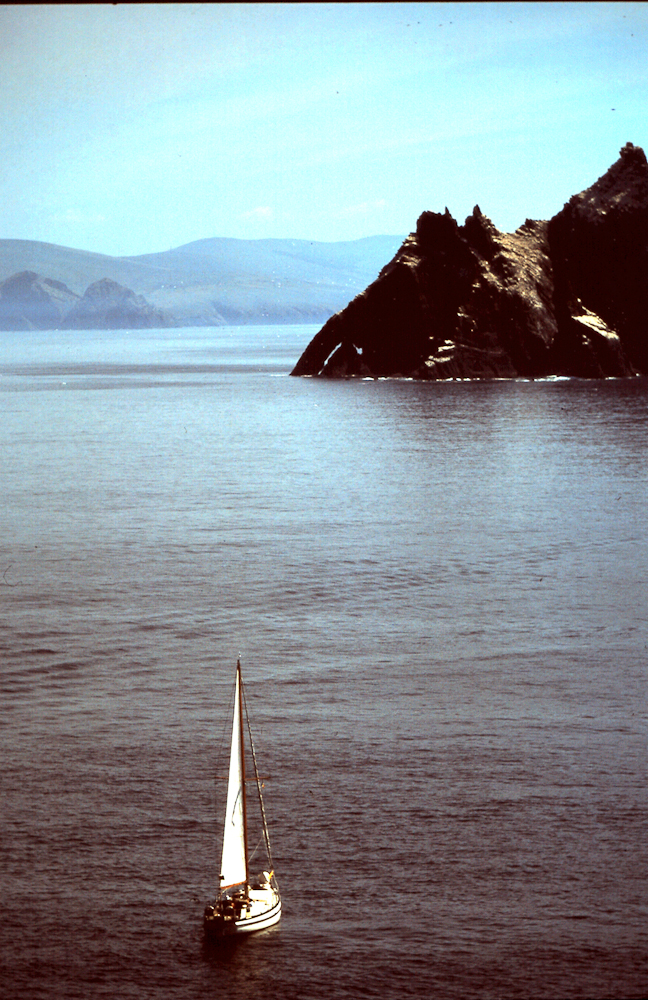
Puffin at Skellig Michael
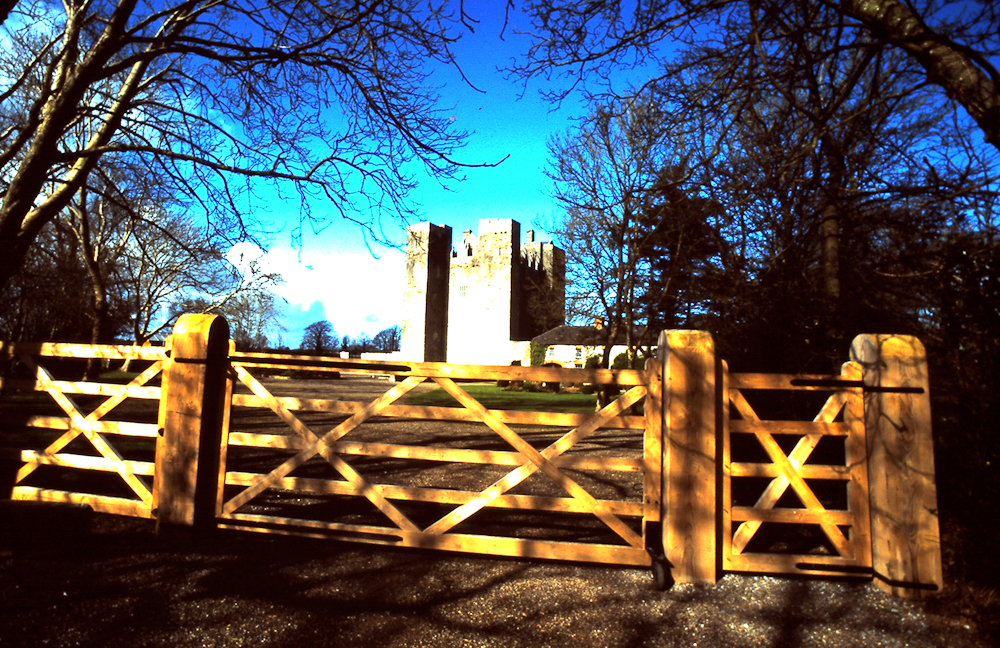
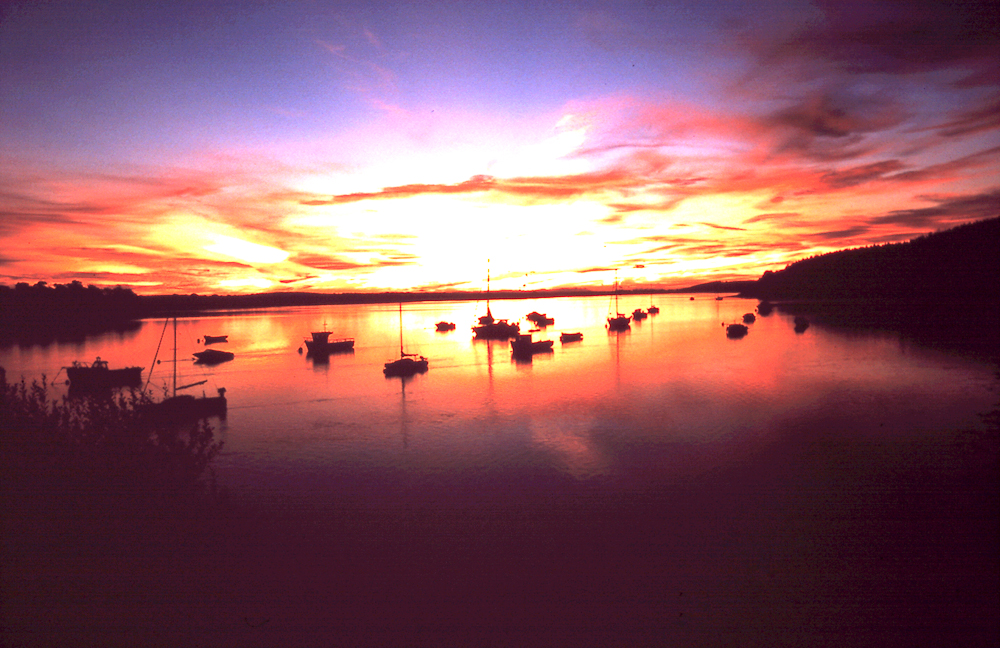
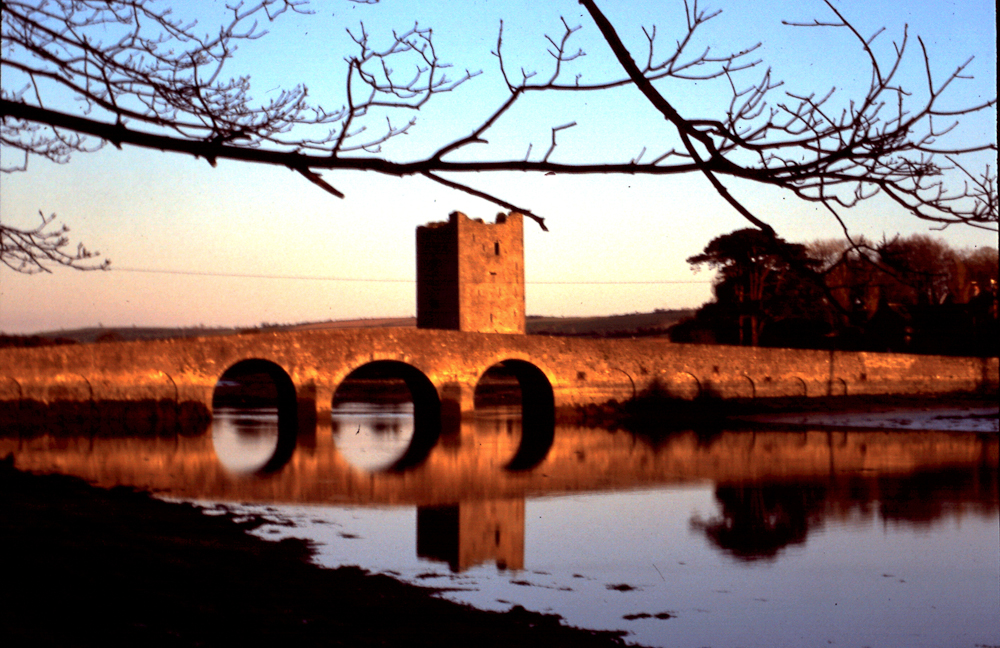
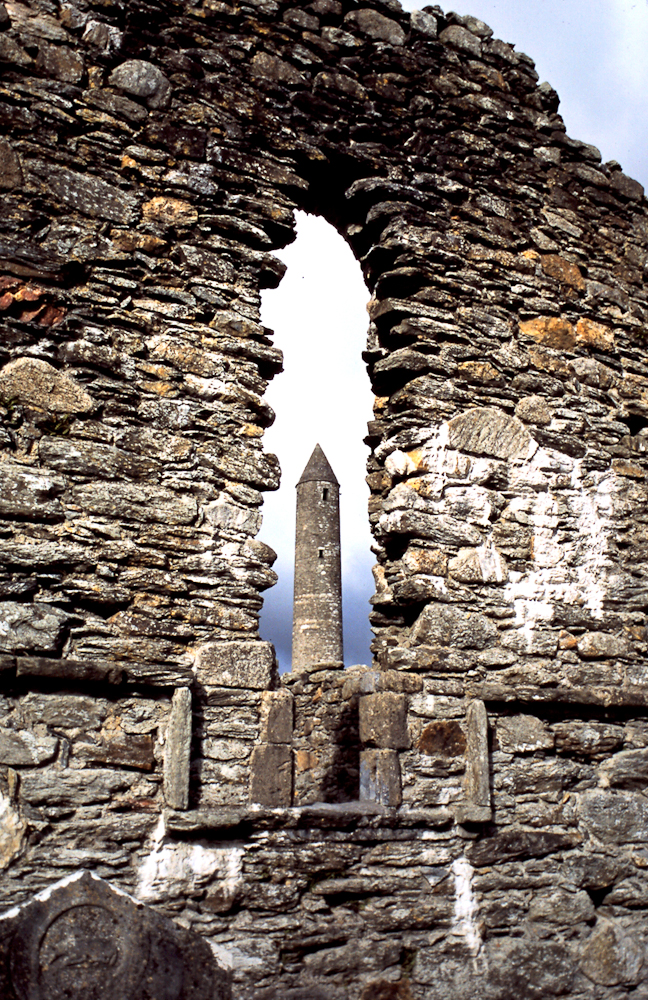
Barryscourt Castle, Carrigtwohill

Barryscourt Castle, Carrigtwohill
Mick gave the the back story to all the images but with the caveat "what happened in Prague, stays in Prague!".
Tom Tattan thanked Mick for his effort and help over the years and for the fantastic slideshow and insight he gave to the group. All adjourned to discuss matters further over refreshments afterwards.
Photos from the night: Dave Edmunds
See more images from the group here.


 Photoshop changes - This is the original image which I shot in RAW. I used Auto White Balance but later changed it to tungsten in Photoshop as I preferred the blue colouration in the image. I just tidied the image up with some erasing and cloning to remove dust spots and the Pyrex lettering at the end of the bowl. I adjusted the sharpness (unsharp mask) and that’s it.