Big announcement today! Click here for more.
Tag Archives: Photoshop
How I took that shot – by Gráinne Davies
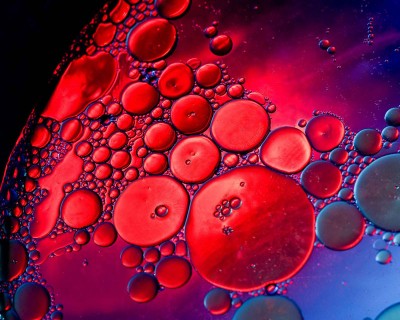
I was trying to do something different for a still life project I was doing and decided to photograph some oil droplets. You get very resourceful with still life photography and just have to look around the house for props, lighting and let your imagination run free.
The set up I used was very simple……..
- Put some water into a glass bowl then add some oil (olive oil/vegetable oil) into the water
- Add a few drops of washing up liquid to separate the oil droplets.
- I used a small home studio kit set up on a table in front of a north facing window. If you don’t have a studio kit then just use white/black card (depending on the set up you want).
- Lift the bowl up a bit (say 10 inches) and set it up onto something so that the bowl is risen up from the surface beneath.
- Place coloured paper/card/wrapping paper etc on the base below the bowl so this will act as the background but you won’t want this in focus in your shot.
- Lighting the scene – I used some LED bicycle lights to light the oil from beneath.
- Set your camera up on tripod and point the camera downwards so that it is pointing directly down towards the oil.
- Use manual control and manually focus on the area you want as the focal point.
- Make sure not to use a small aperture of say F22 as you don’t want the background paper in focus, it’s just there to add a background colour.
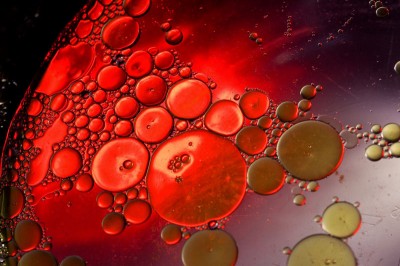 Photoshop changes – This is the original image which I shot in RAW. I used Auto White Balance but later changed it to tungsten in Photoshop as I preferred the blue colouration in the image. I just tidied the image up with some erasing and cloning to remove dust spots and the Pyrex lettering at the end of the bowl. I adjusted the sharpness (unsharp mask) and that’s it.
Check out Google images and Youtube for more tips and help as there is loads of information there and above all HAVE FUN!!!
Technical Details:
Canon 50D camera
Canon 60mm macro lens
F6.3, 1/13 seconds, ISO 250.
Lightroom 5 Beta Launched
Adobe has released the Public Beta version of Lightroom 5. A beta version is still a work in progress and is released to be used, free of charge, by the public who can report any bugs or issues directly to Adobe who may address them before the final version of the software is released.
Terry White is a Worlwide Design Evangelist for Adobe. He has created the video below where he demonstrates his five favourite features in the beta release.
You can download the free Lightroom 5 beta here. To learn about more technical updates to this release, visit the Lightroom Journal blog. You can submit your thoughts and ideas to this feedback page.
Adobe says that if you already have Lightroom, they will not update your existing catalogues when you download the beta. Rather, a new catalogue will be created where you can import your images. They also recommend that you only use copies of your images in the beta as this is not a finished product and is still a work in progress. Therefore, you should not use your original images with it.
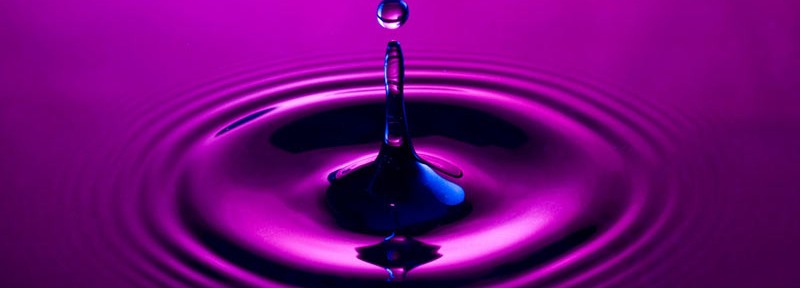
How I took that shot by Gráinne Davies
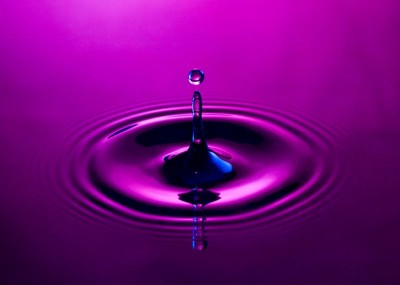
I wanted to photograph water drops and it’s not as easy as it may seem.
The set up I used was very simple……..
- Put some water into a black roasting tin
- I used a small home studio kit set up on a table. If you don’t have a studio kit then just use coloured card (depending on what colour you want out).
- I used a red velvet background.
- Pour some water into a bottle or a bag (I used a bag) and suspend the water above the tin of water. Just put a pin hole in the bag and let the water drop into the tin of water.
- Set your camera on a tripod in front of the water drops.
- To find a focus I used a pencil and placed it directly where the water drops were falling and focused manually. This will ensure your drops are sharp.
- Set up a Speedlight flash on a tripod or a flash stand and aim the flashgun directly at the background (not at the water). Set flash to manual and drop the power of the flash as required depending on the exposure of the shots.
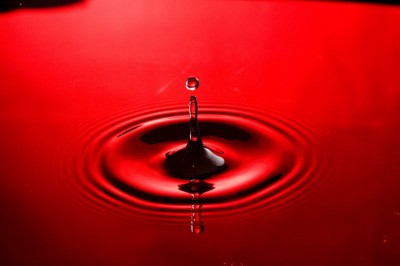 Photoshop changes – The original was shot in RAW and I changed the colour in Photoshop to give the purple colour. I just tidied the image up with some erasing and cloning and cropped the final image.
Technical Details:
Canon 60D
Canon 60mm Macro lens
ISO 200
F10
1/200

